
The Waterhole Baby Quilt

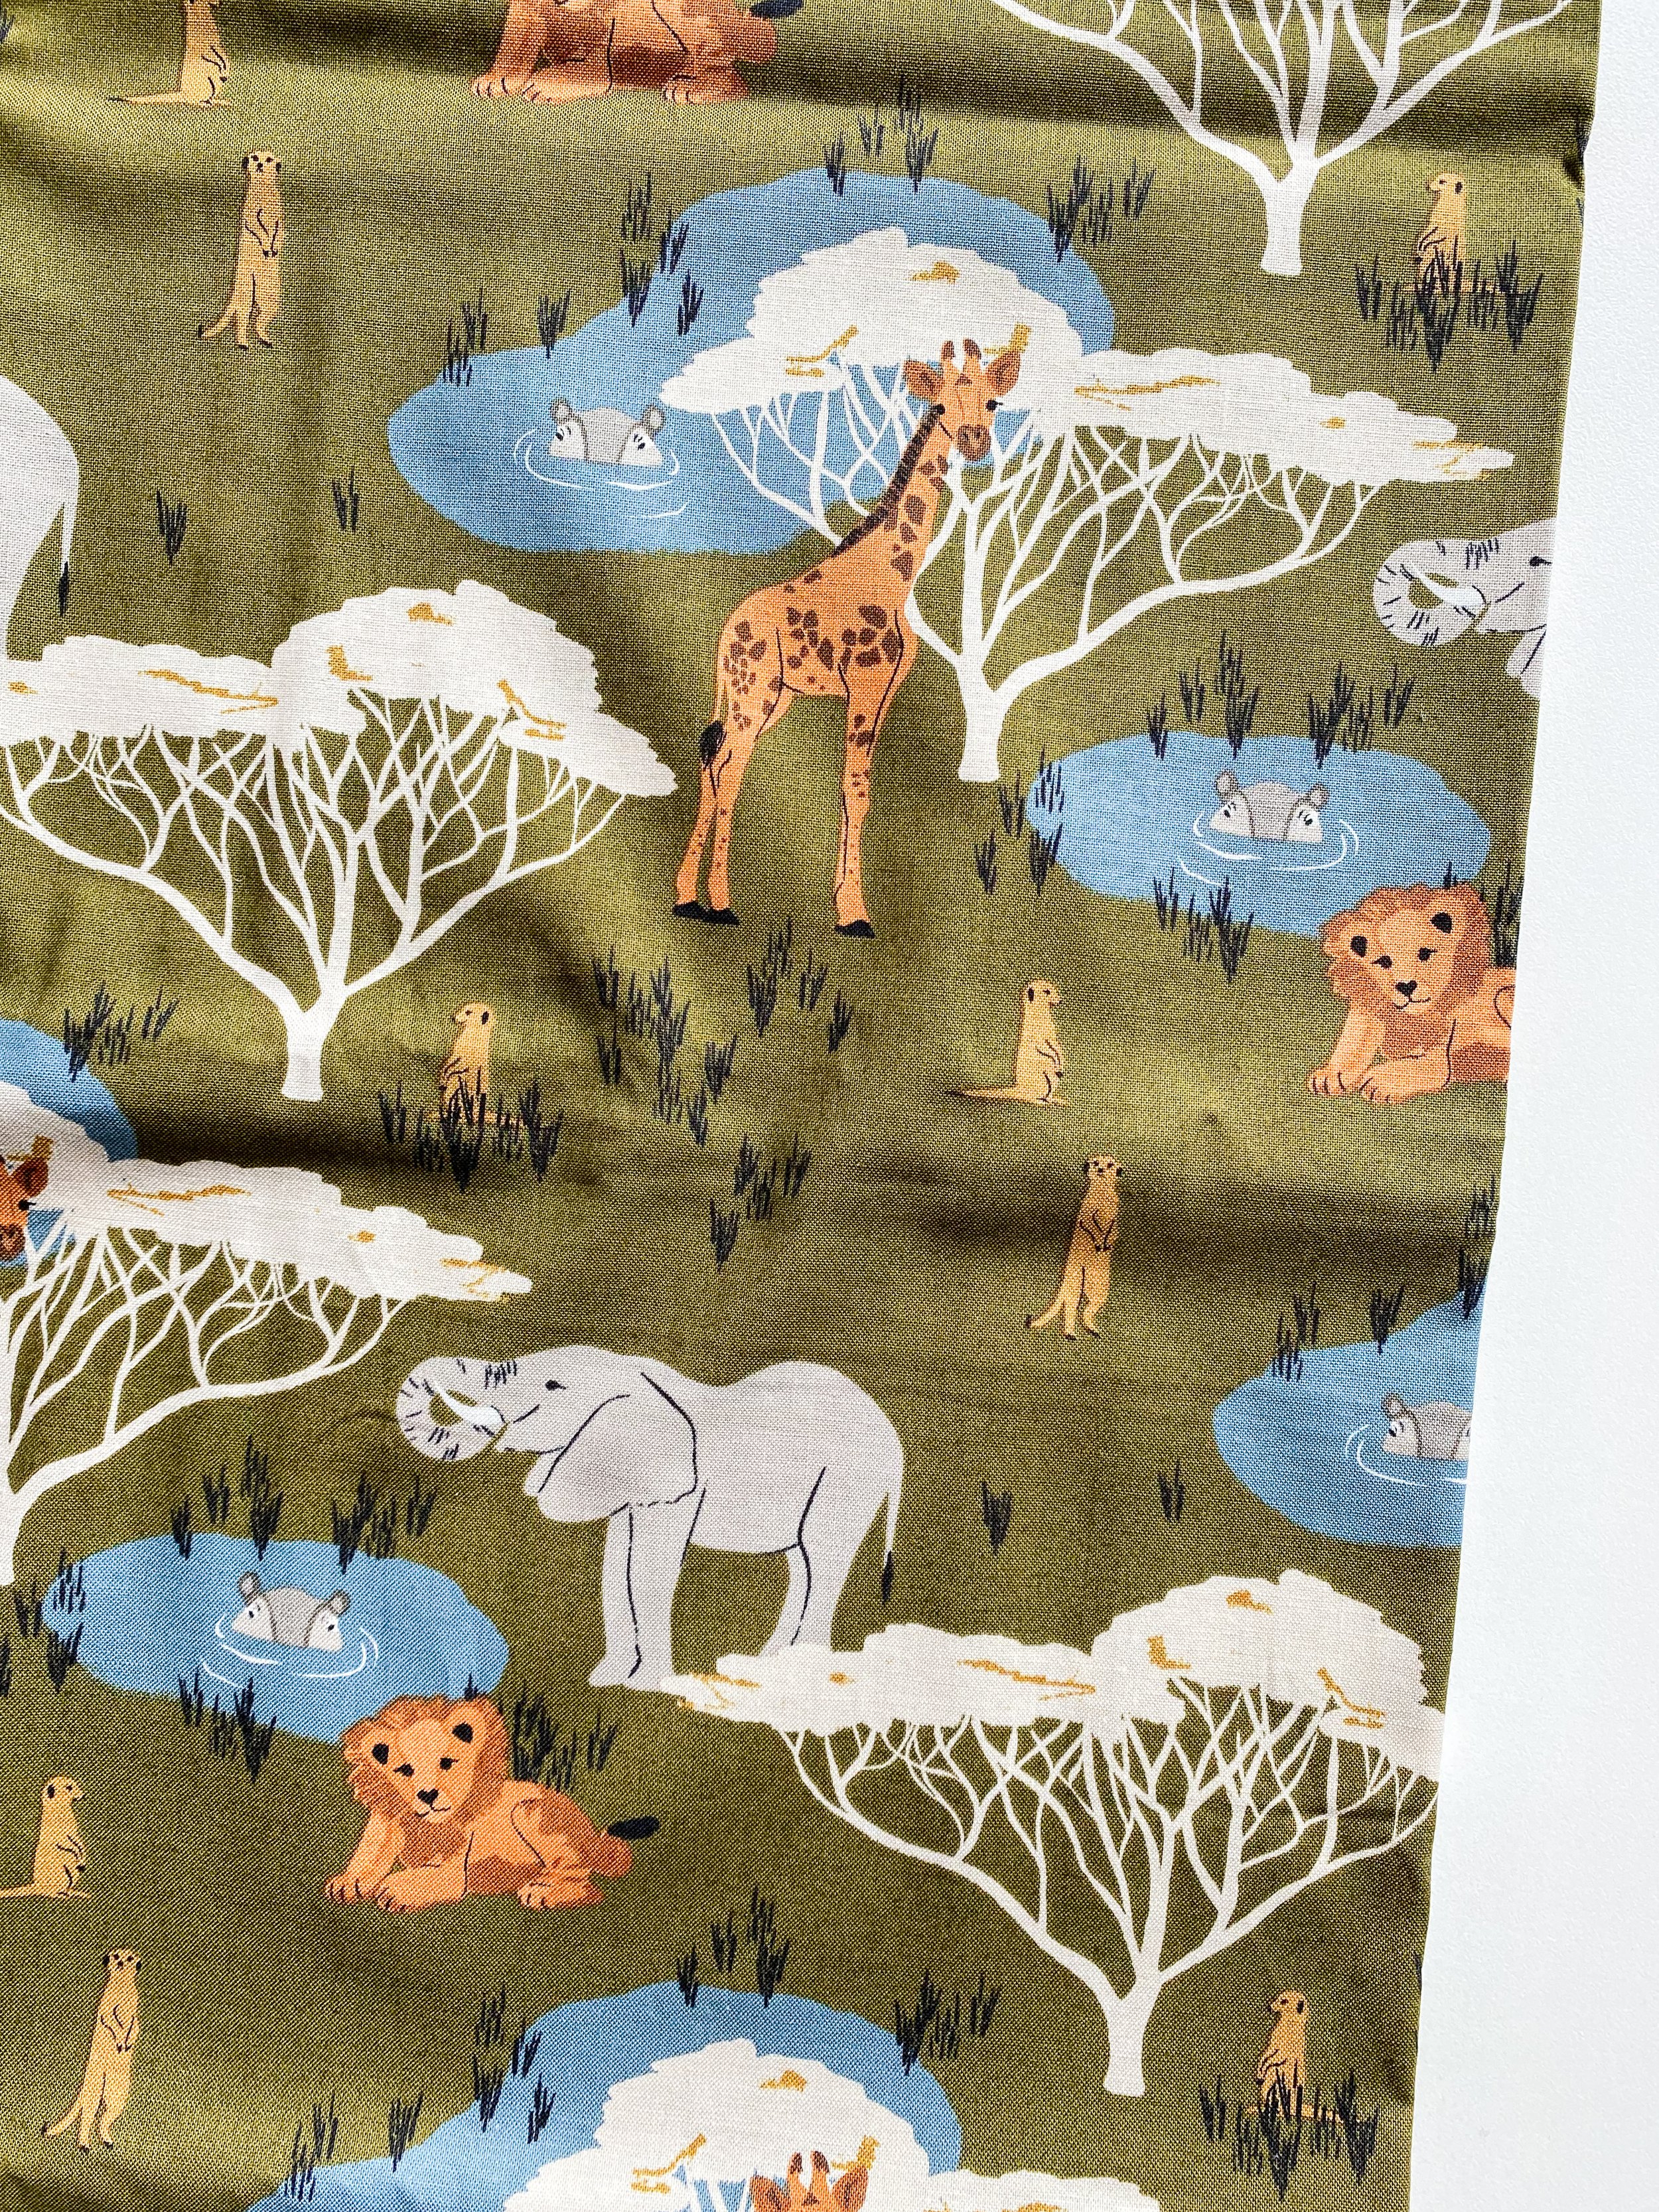
I’m so excited to share with you a baby quilt that I made from this gorgeous new collection, The Waterhole, designed by Gabrielle Neil Design. This collection is great for quilting, apparel and home decor. The prints feature various safari animals; giraffes, elephants, meerkats, lions, and hippopotamuses at a waterhole.
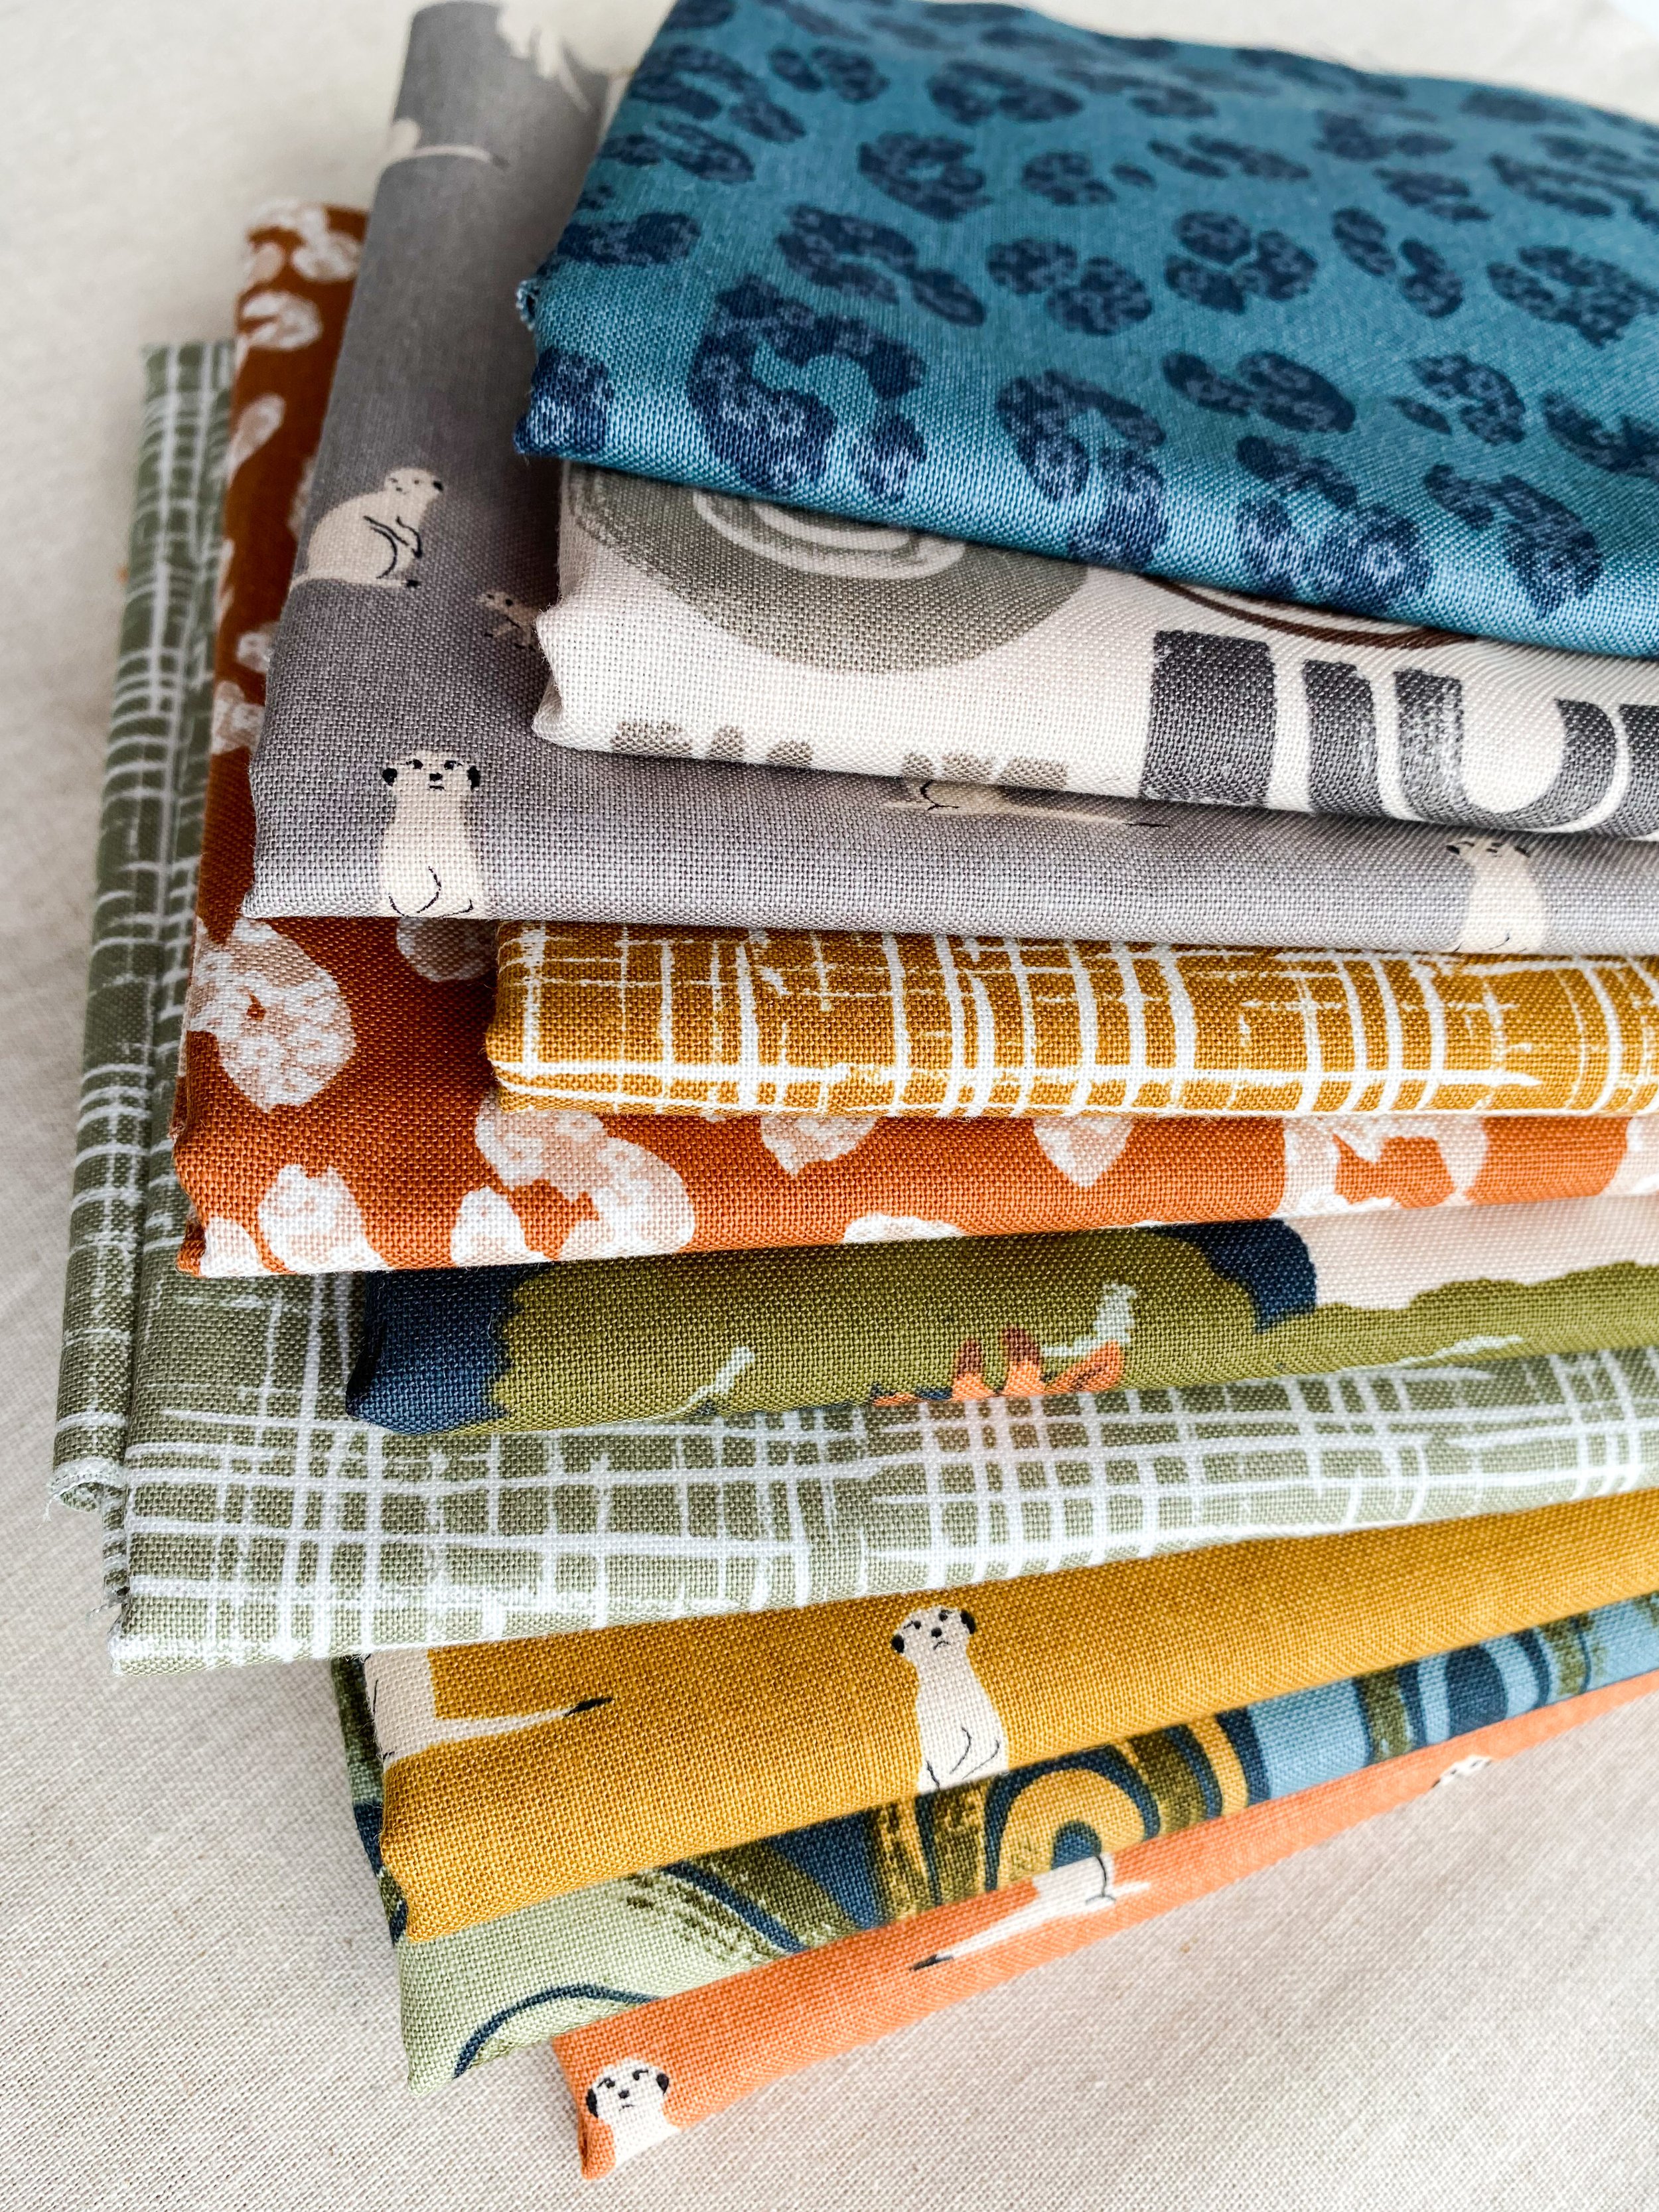
To say I fell in love with this fabric would be an understatement! I cannot get enough of the tiny meerkats and the colorful animal print. If I had to pick a favorite, It would probably be this Main Olive print. I chose it to be the backing of the baby quilt because I knew I couldn’t bear to cut it into tiny pieces.
Details on specific fabrics used at the end of this post.
I have so much fabric lying around the house in obscure places that the majority of it actually goes unnoticed (or so I tell myself haha). But the moment this fabric arrived, my husband noticed it immediately. He thumbed through it and was so excited! He loved every single print and suggested I make a quilt for our baby joining our family this summer.


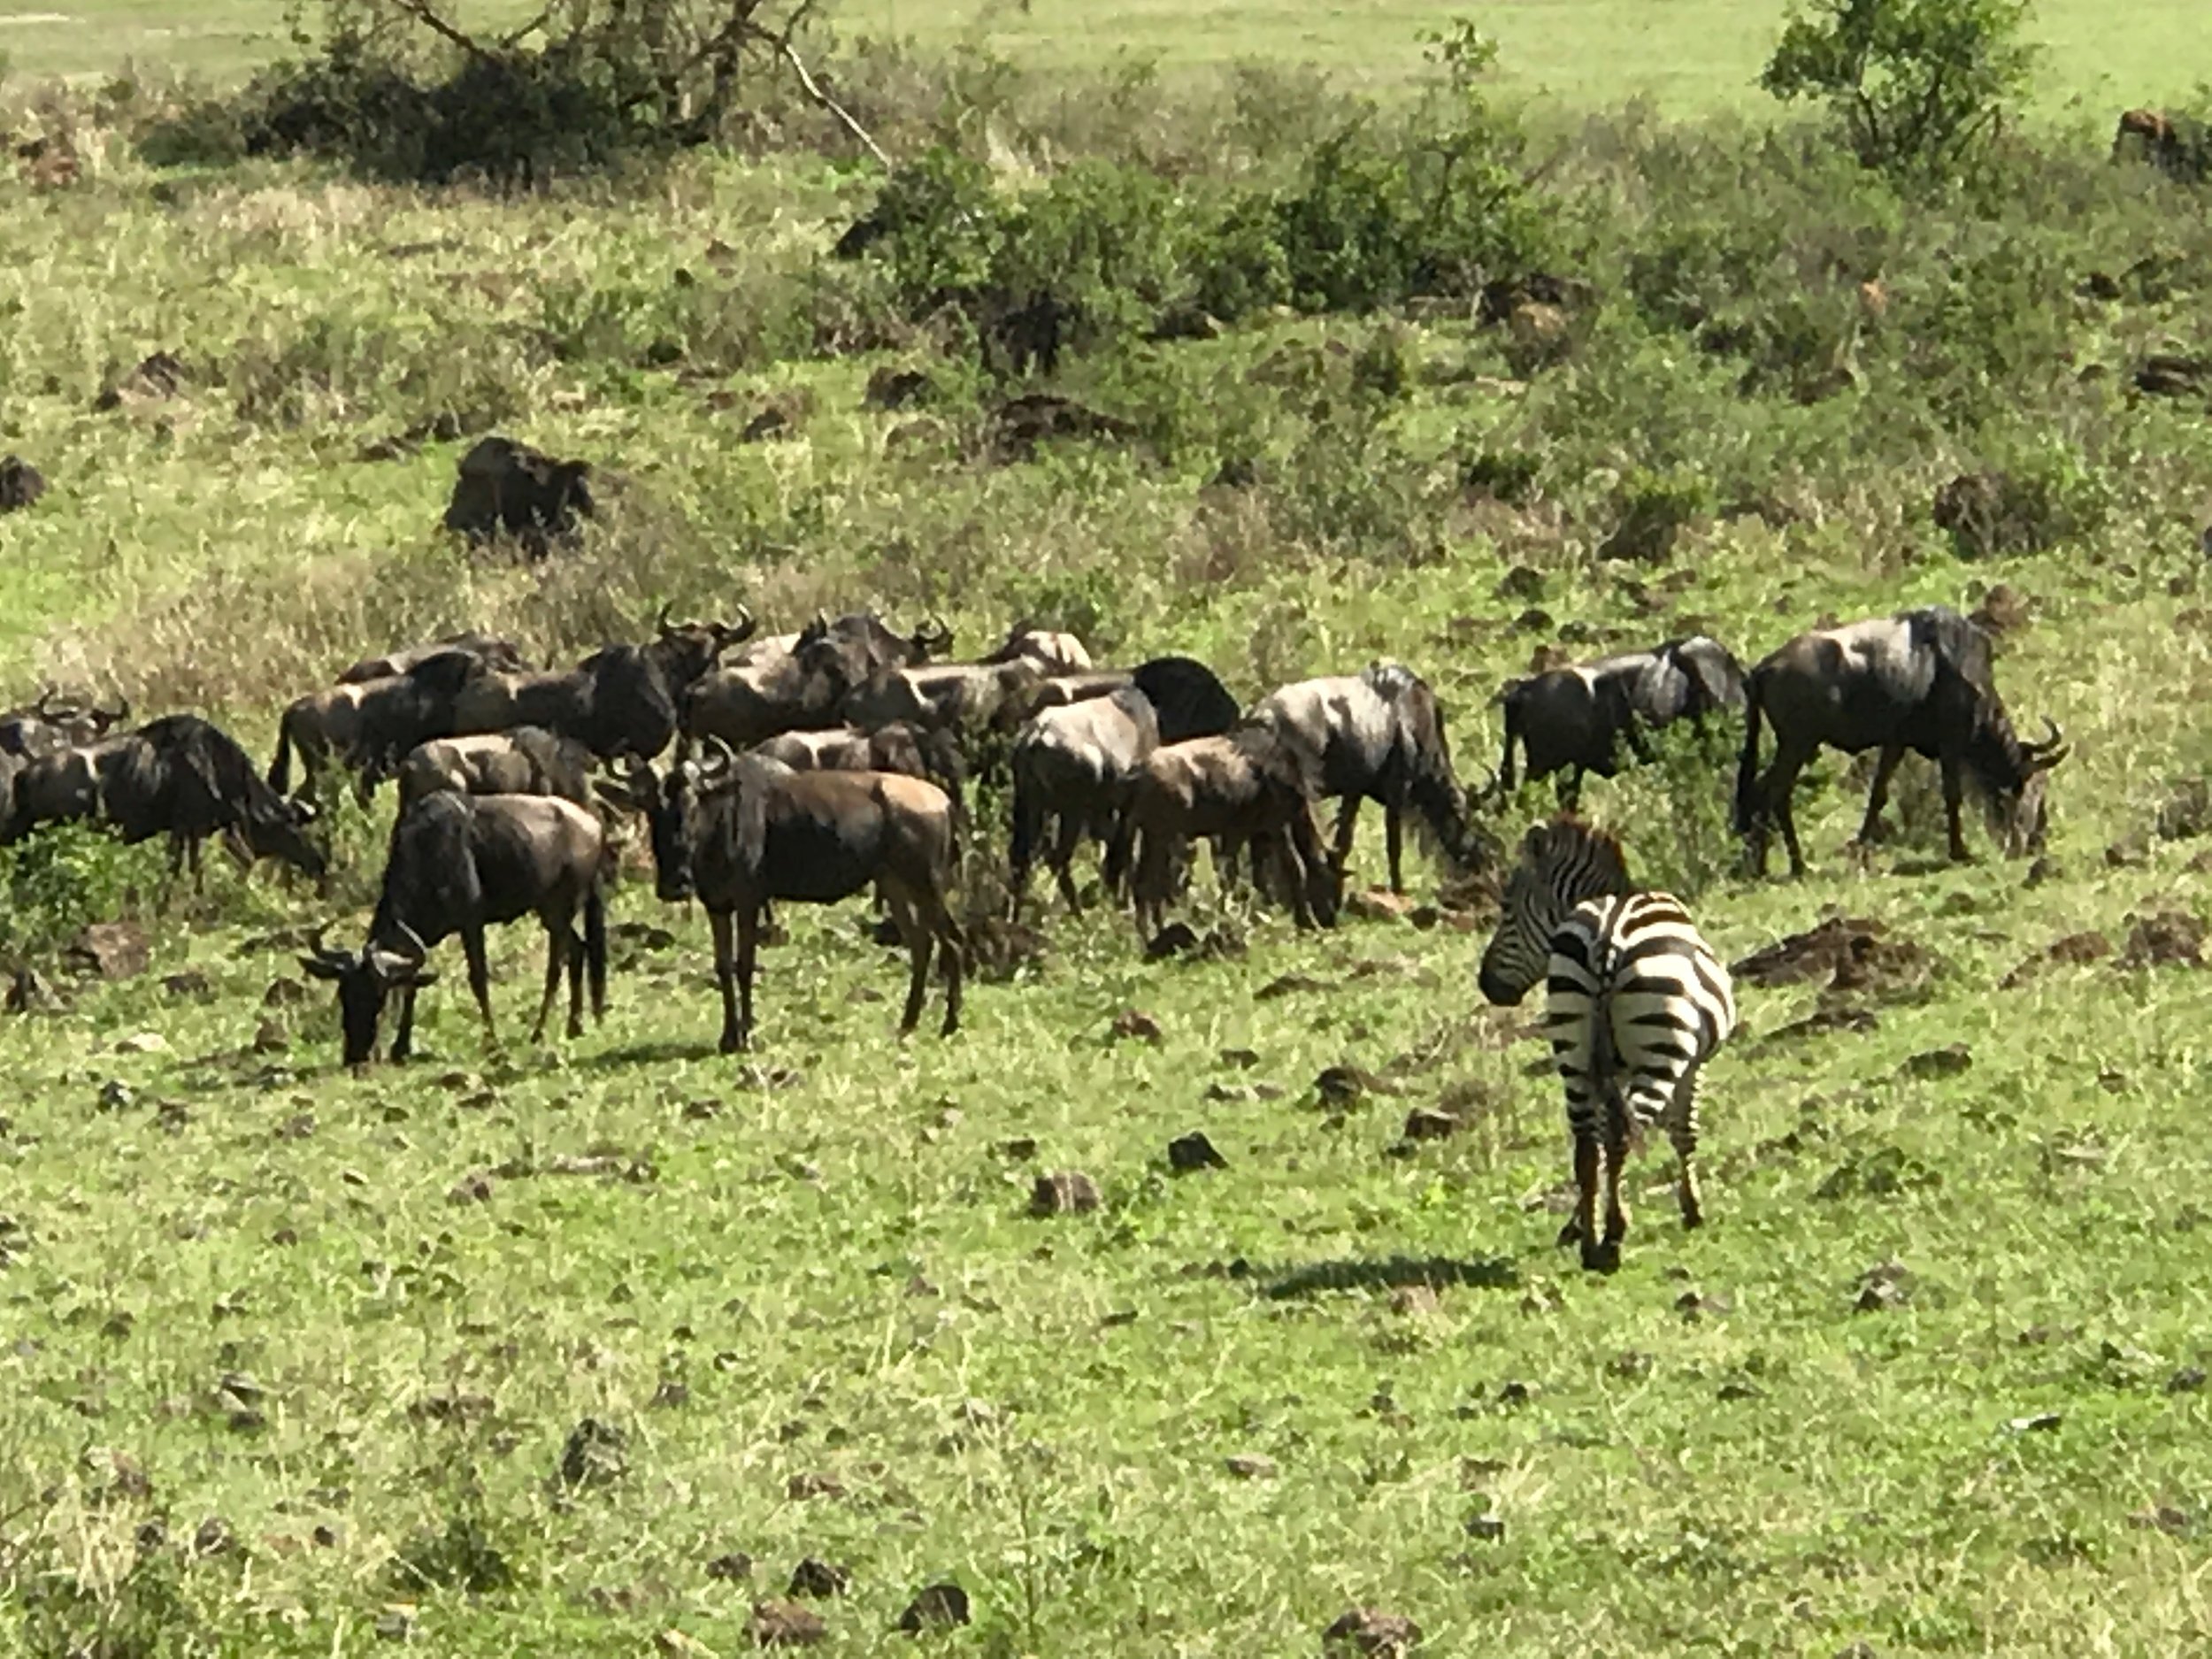
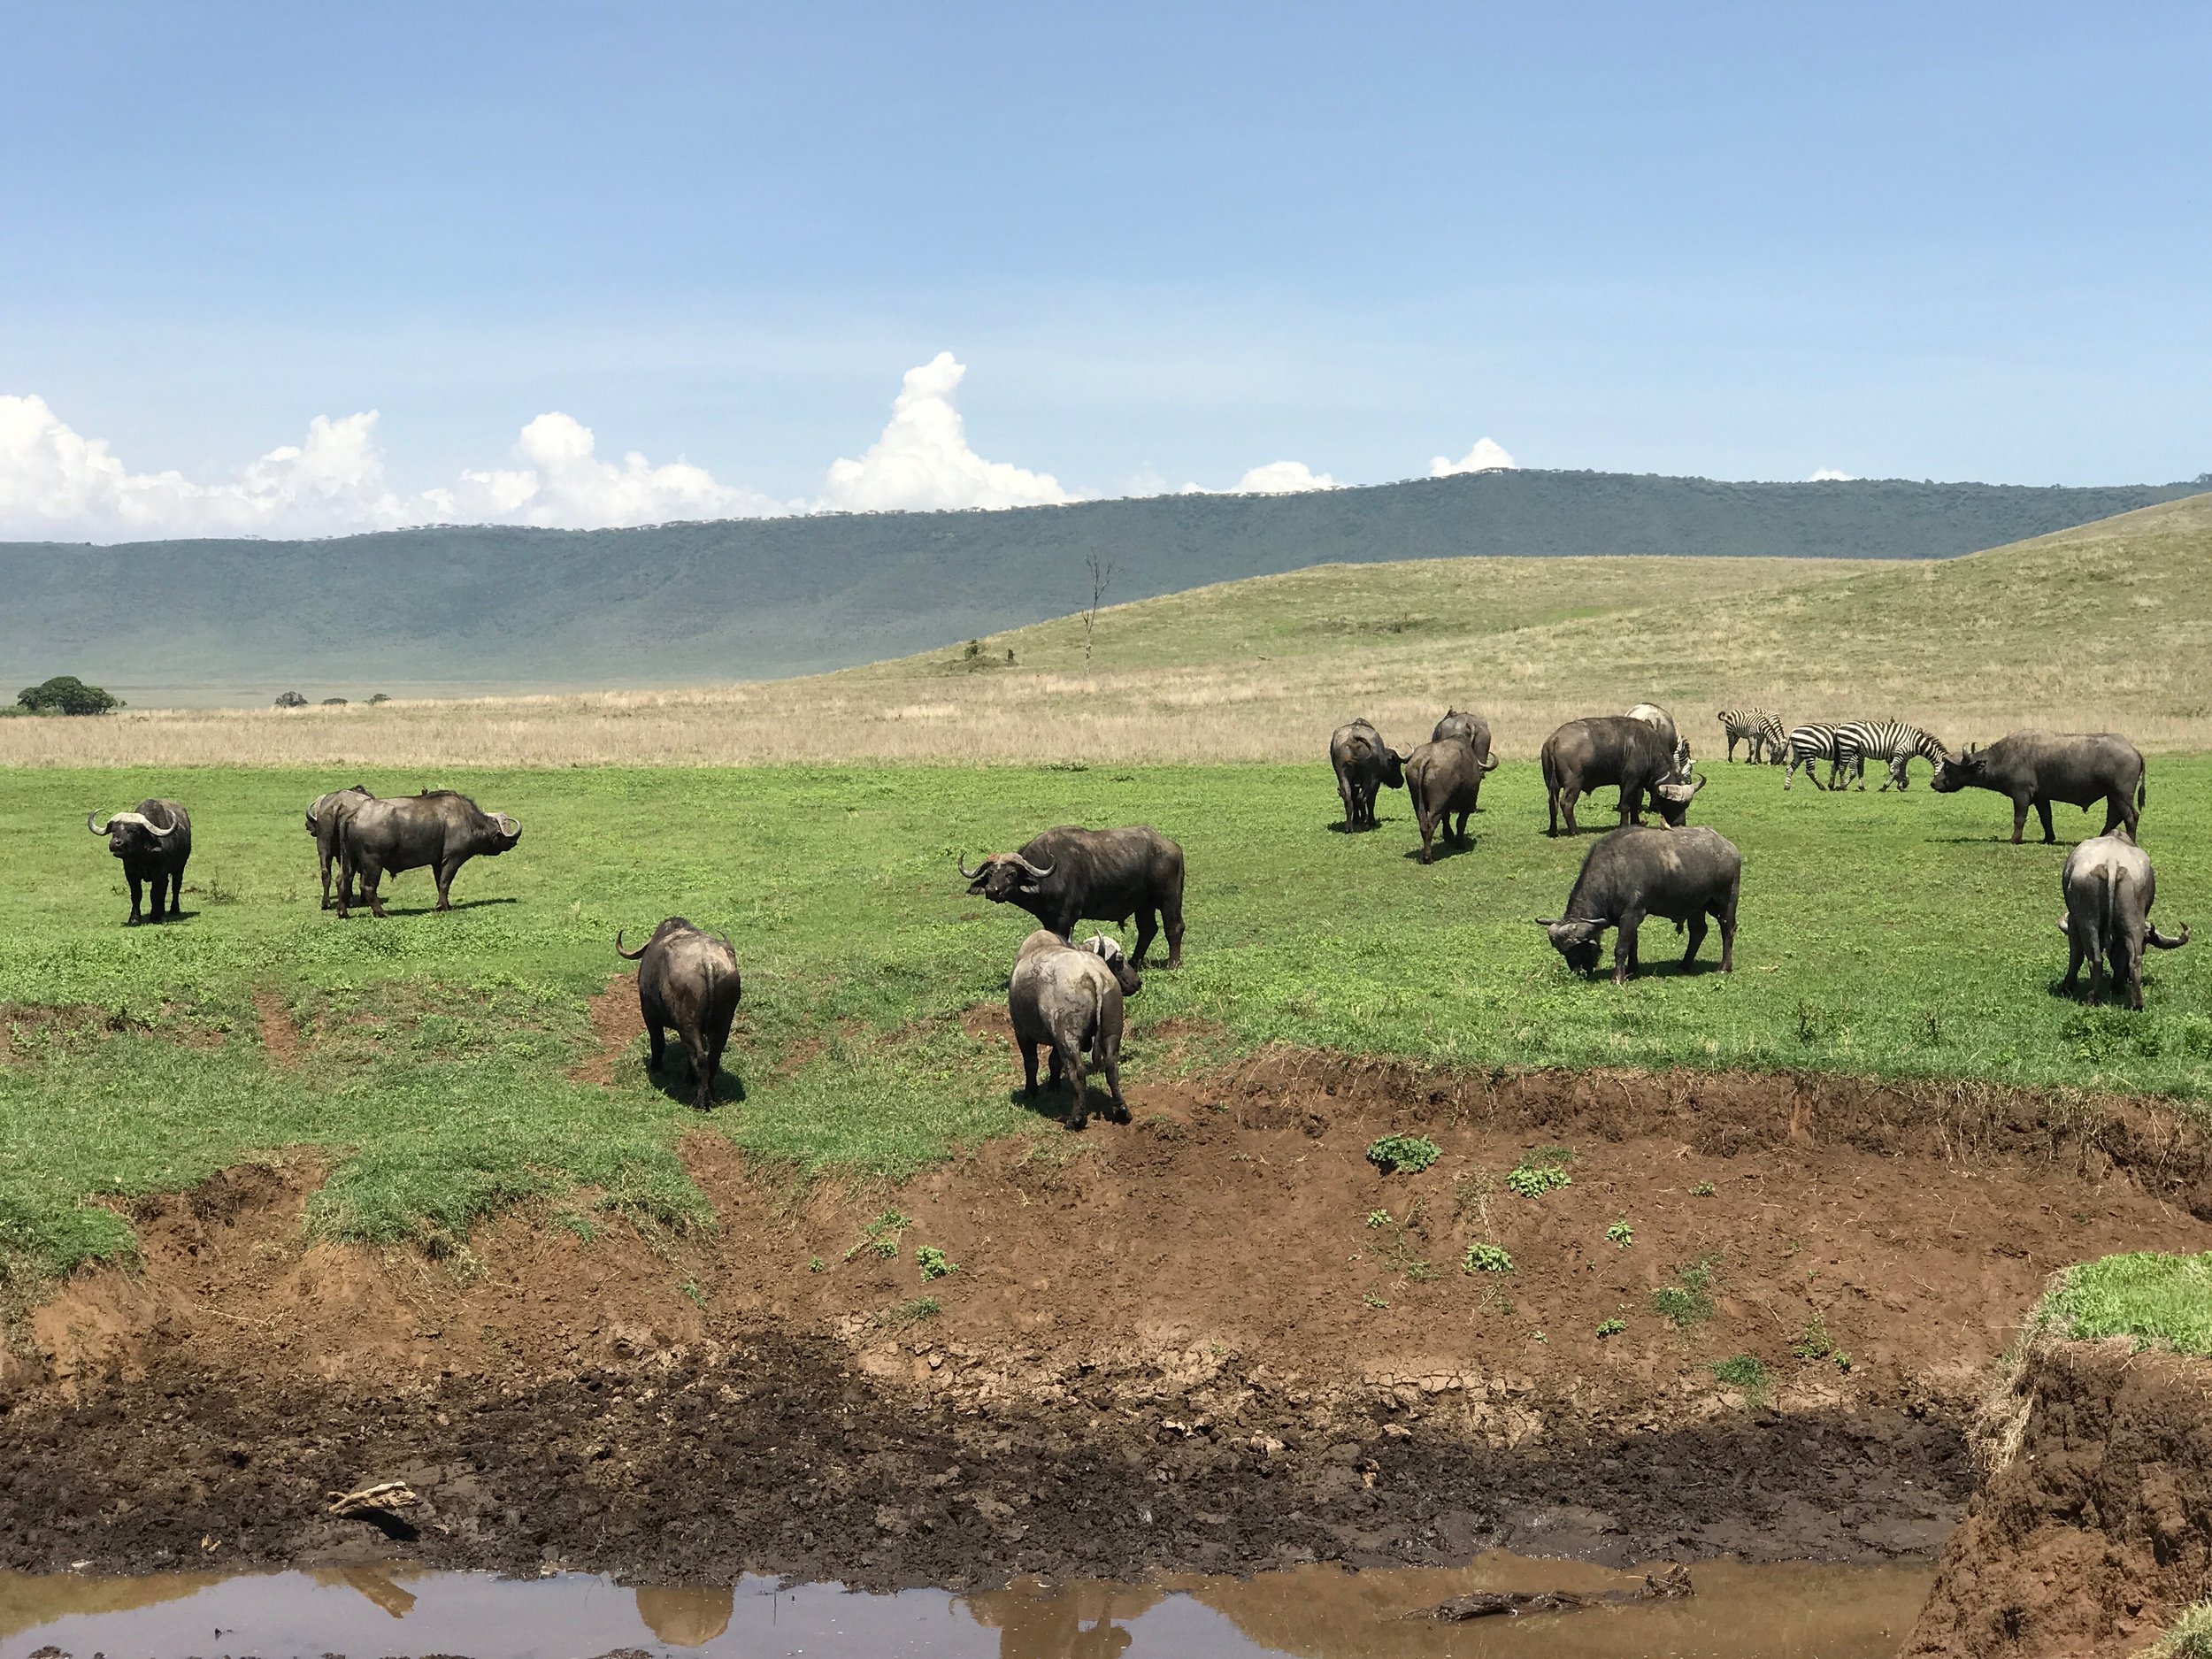
Years ago he visited the Ngorongoro Conservation Area in Tanzania and saw all the animals featured in this collection in real life. He was fascinated that prey and predator relaxed by the same watering hole, “just chilling 50 yards from each other”. You can see in the photo below a lion laying near a small herd of wildebeest.

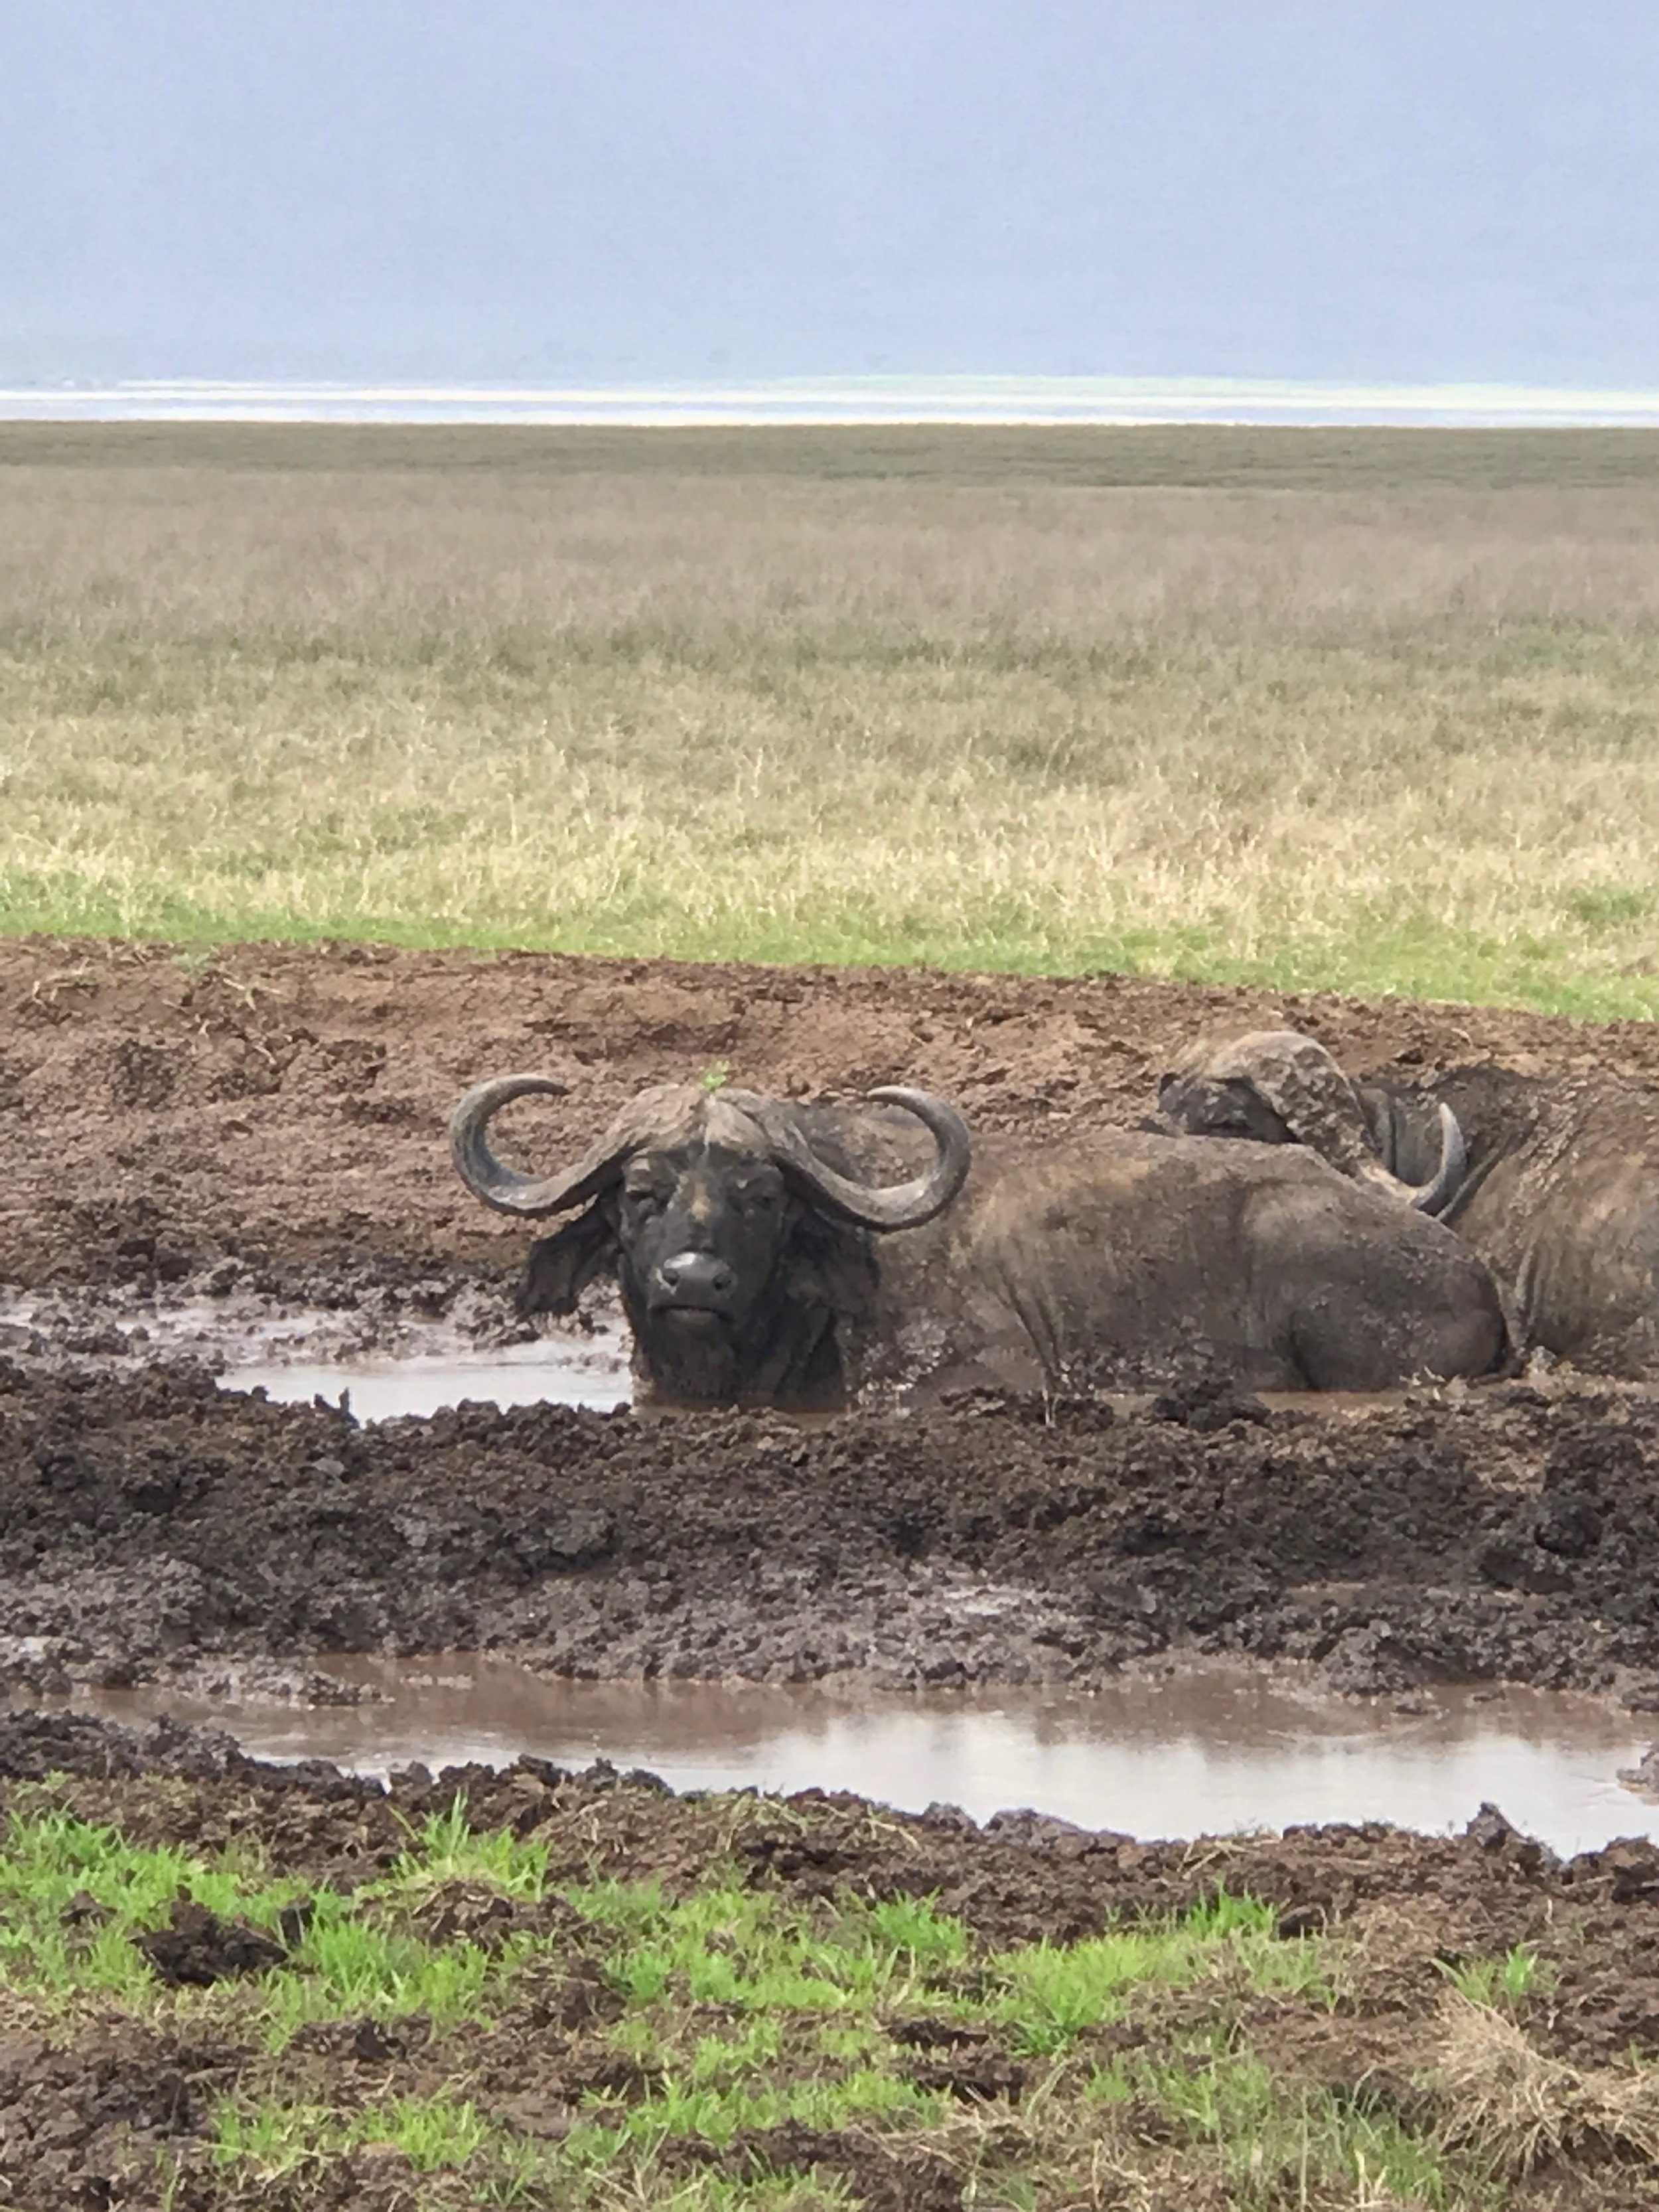
A few more photos of the animals in the Ngorongoro Crater:
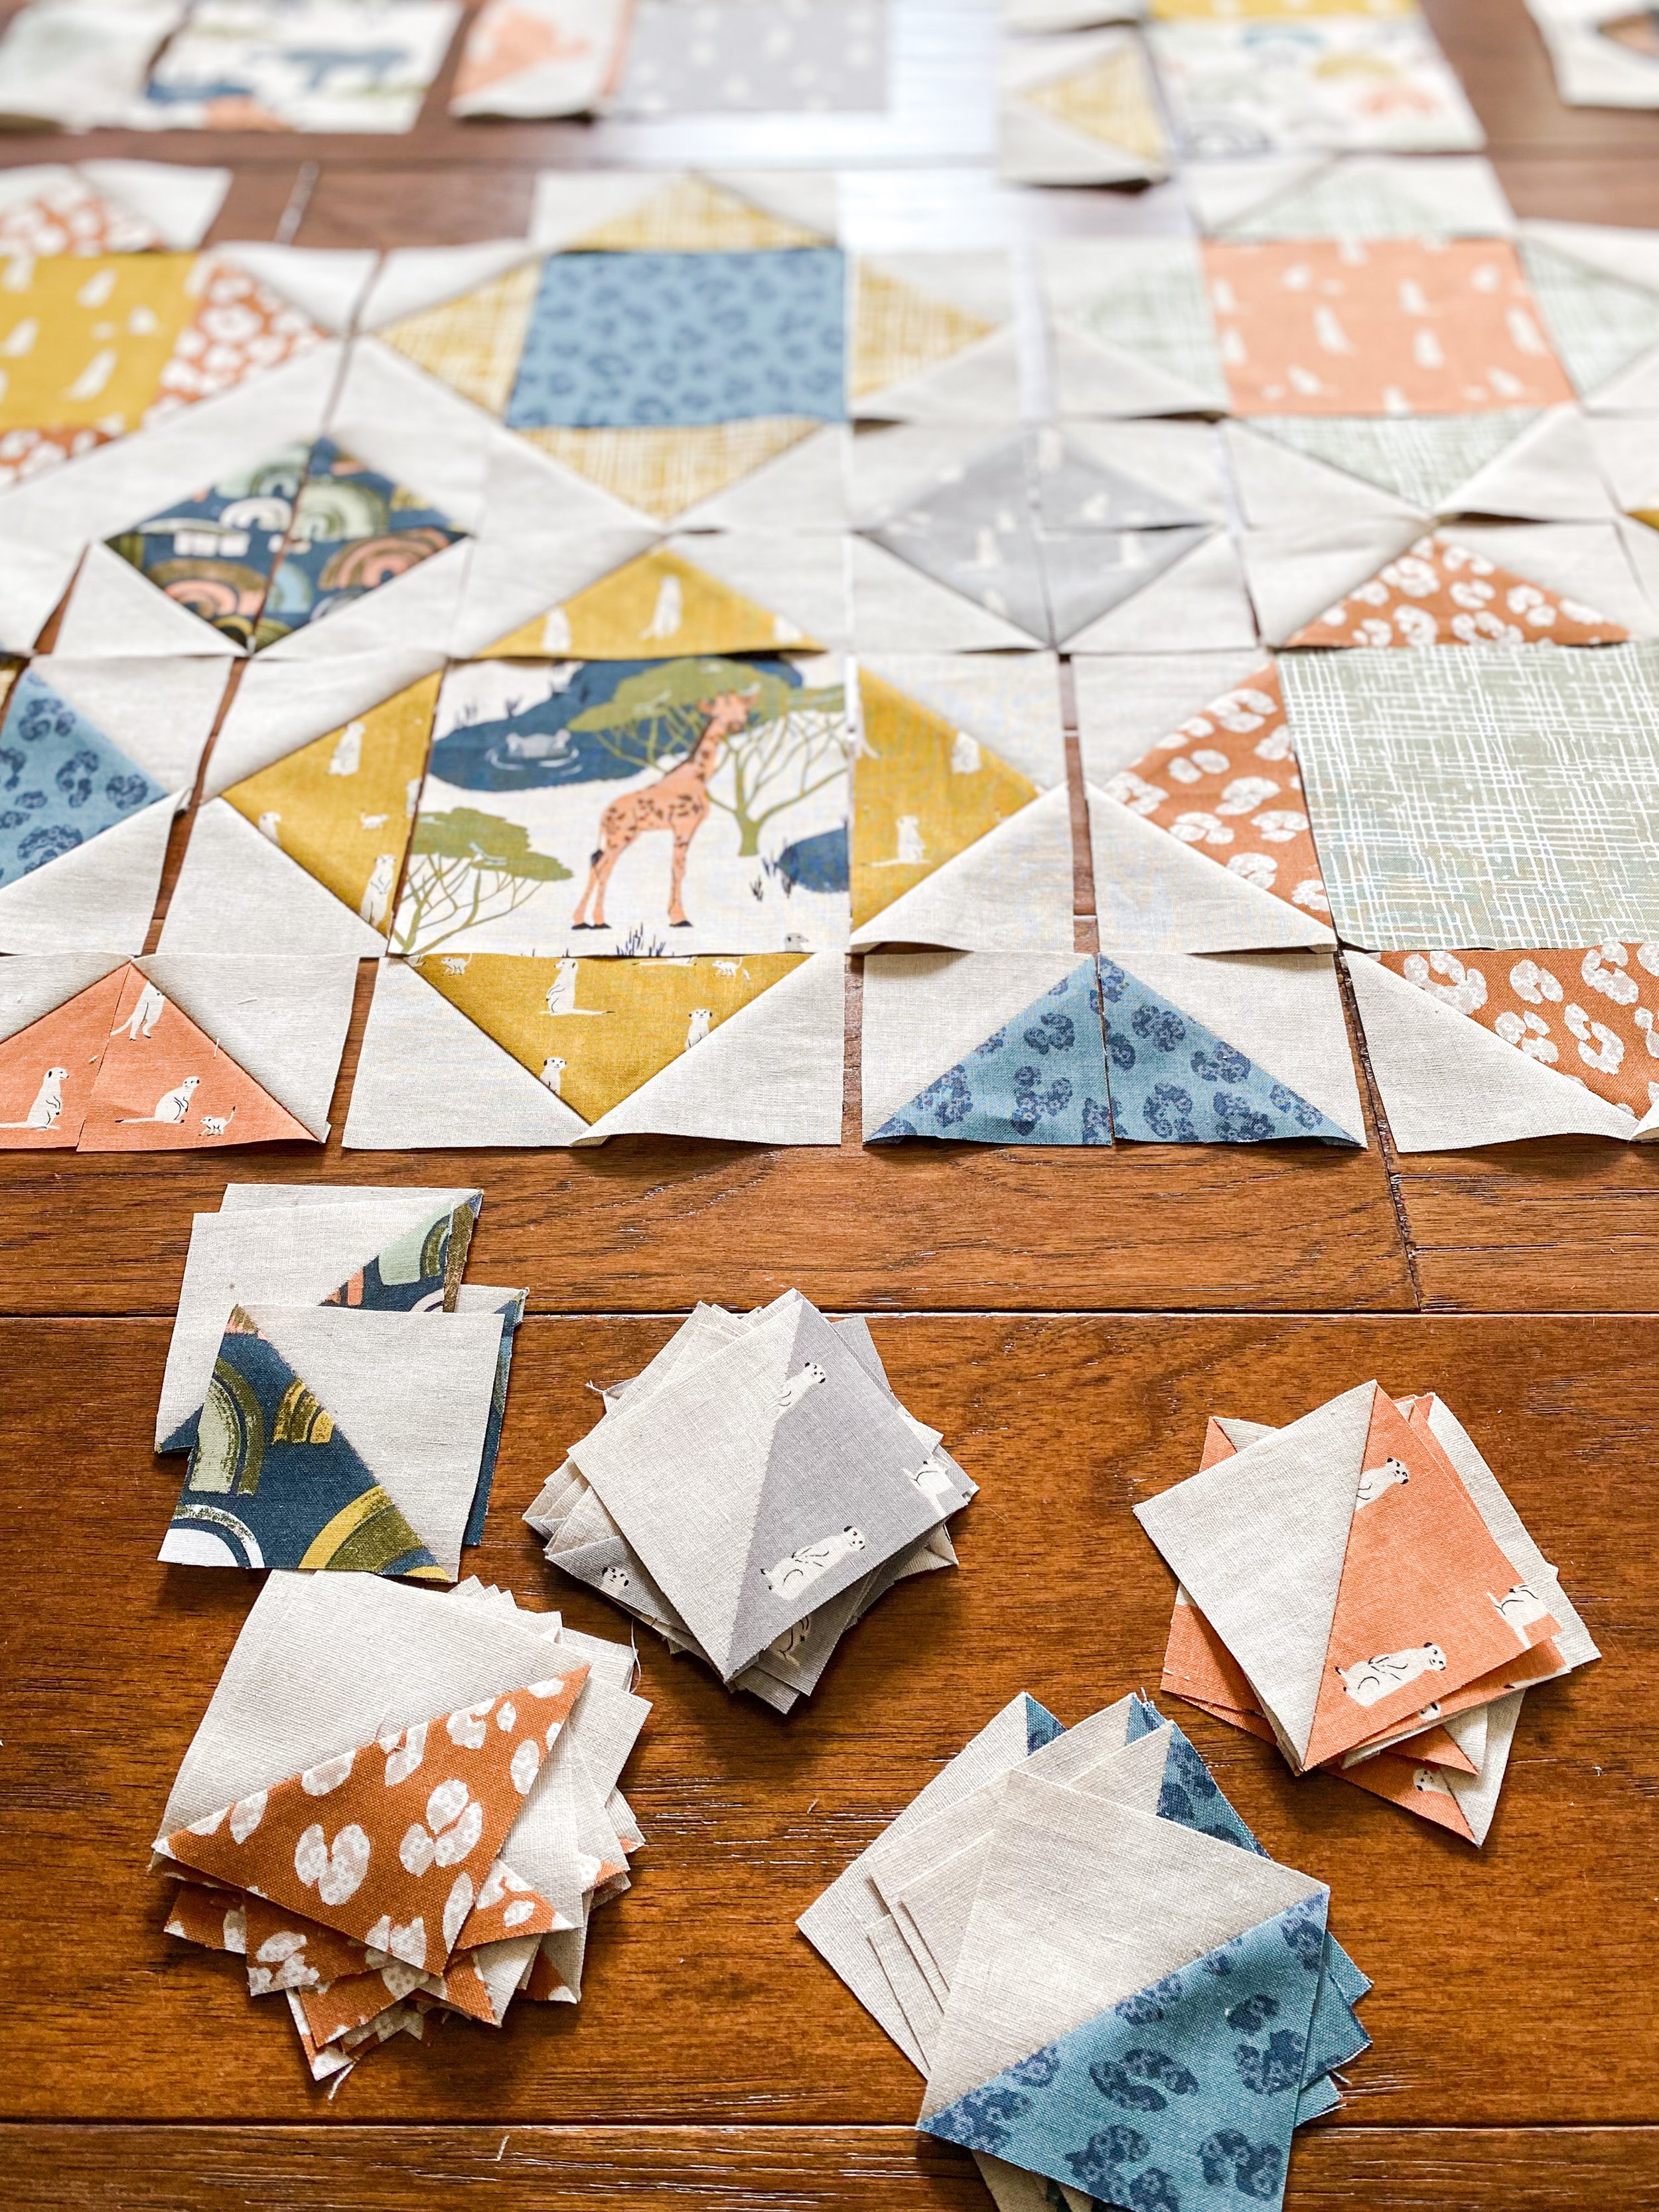
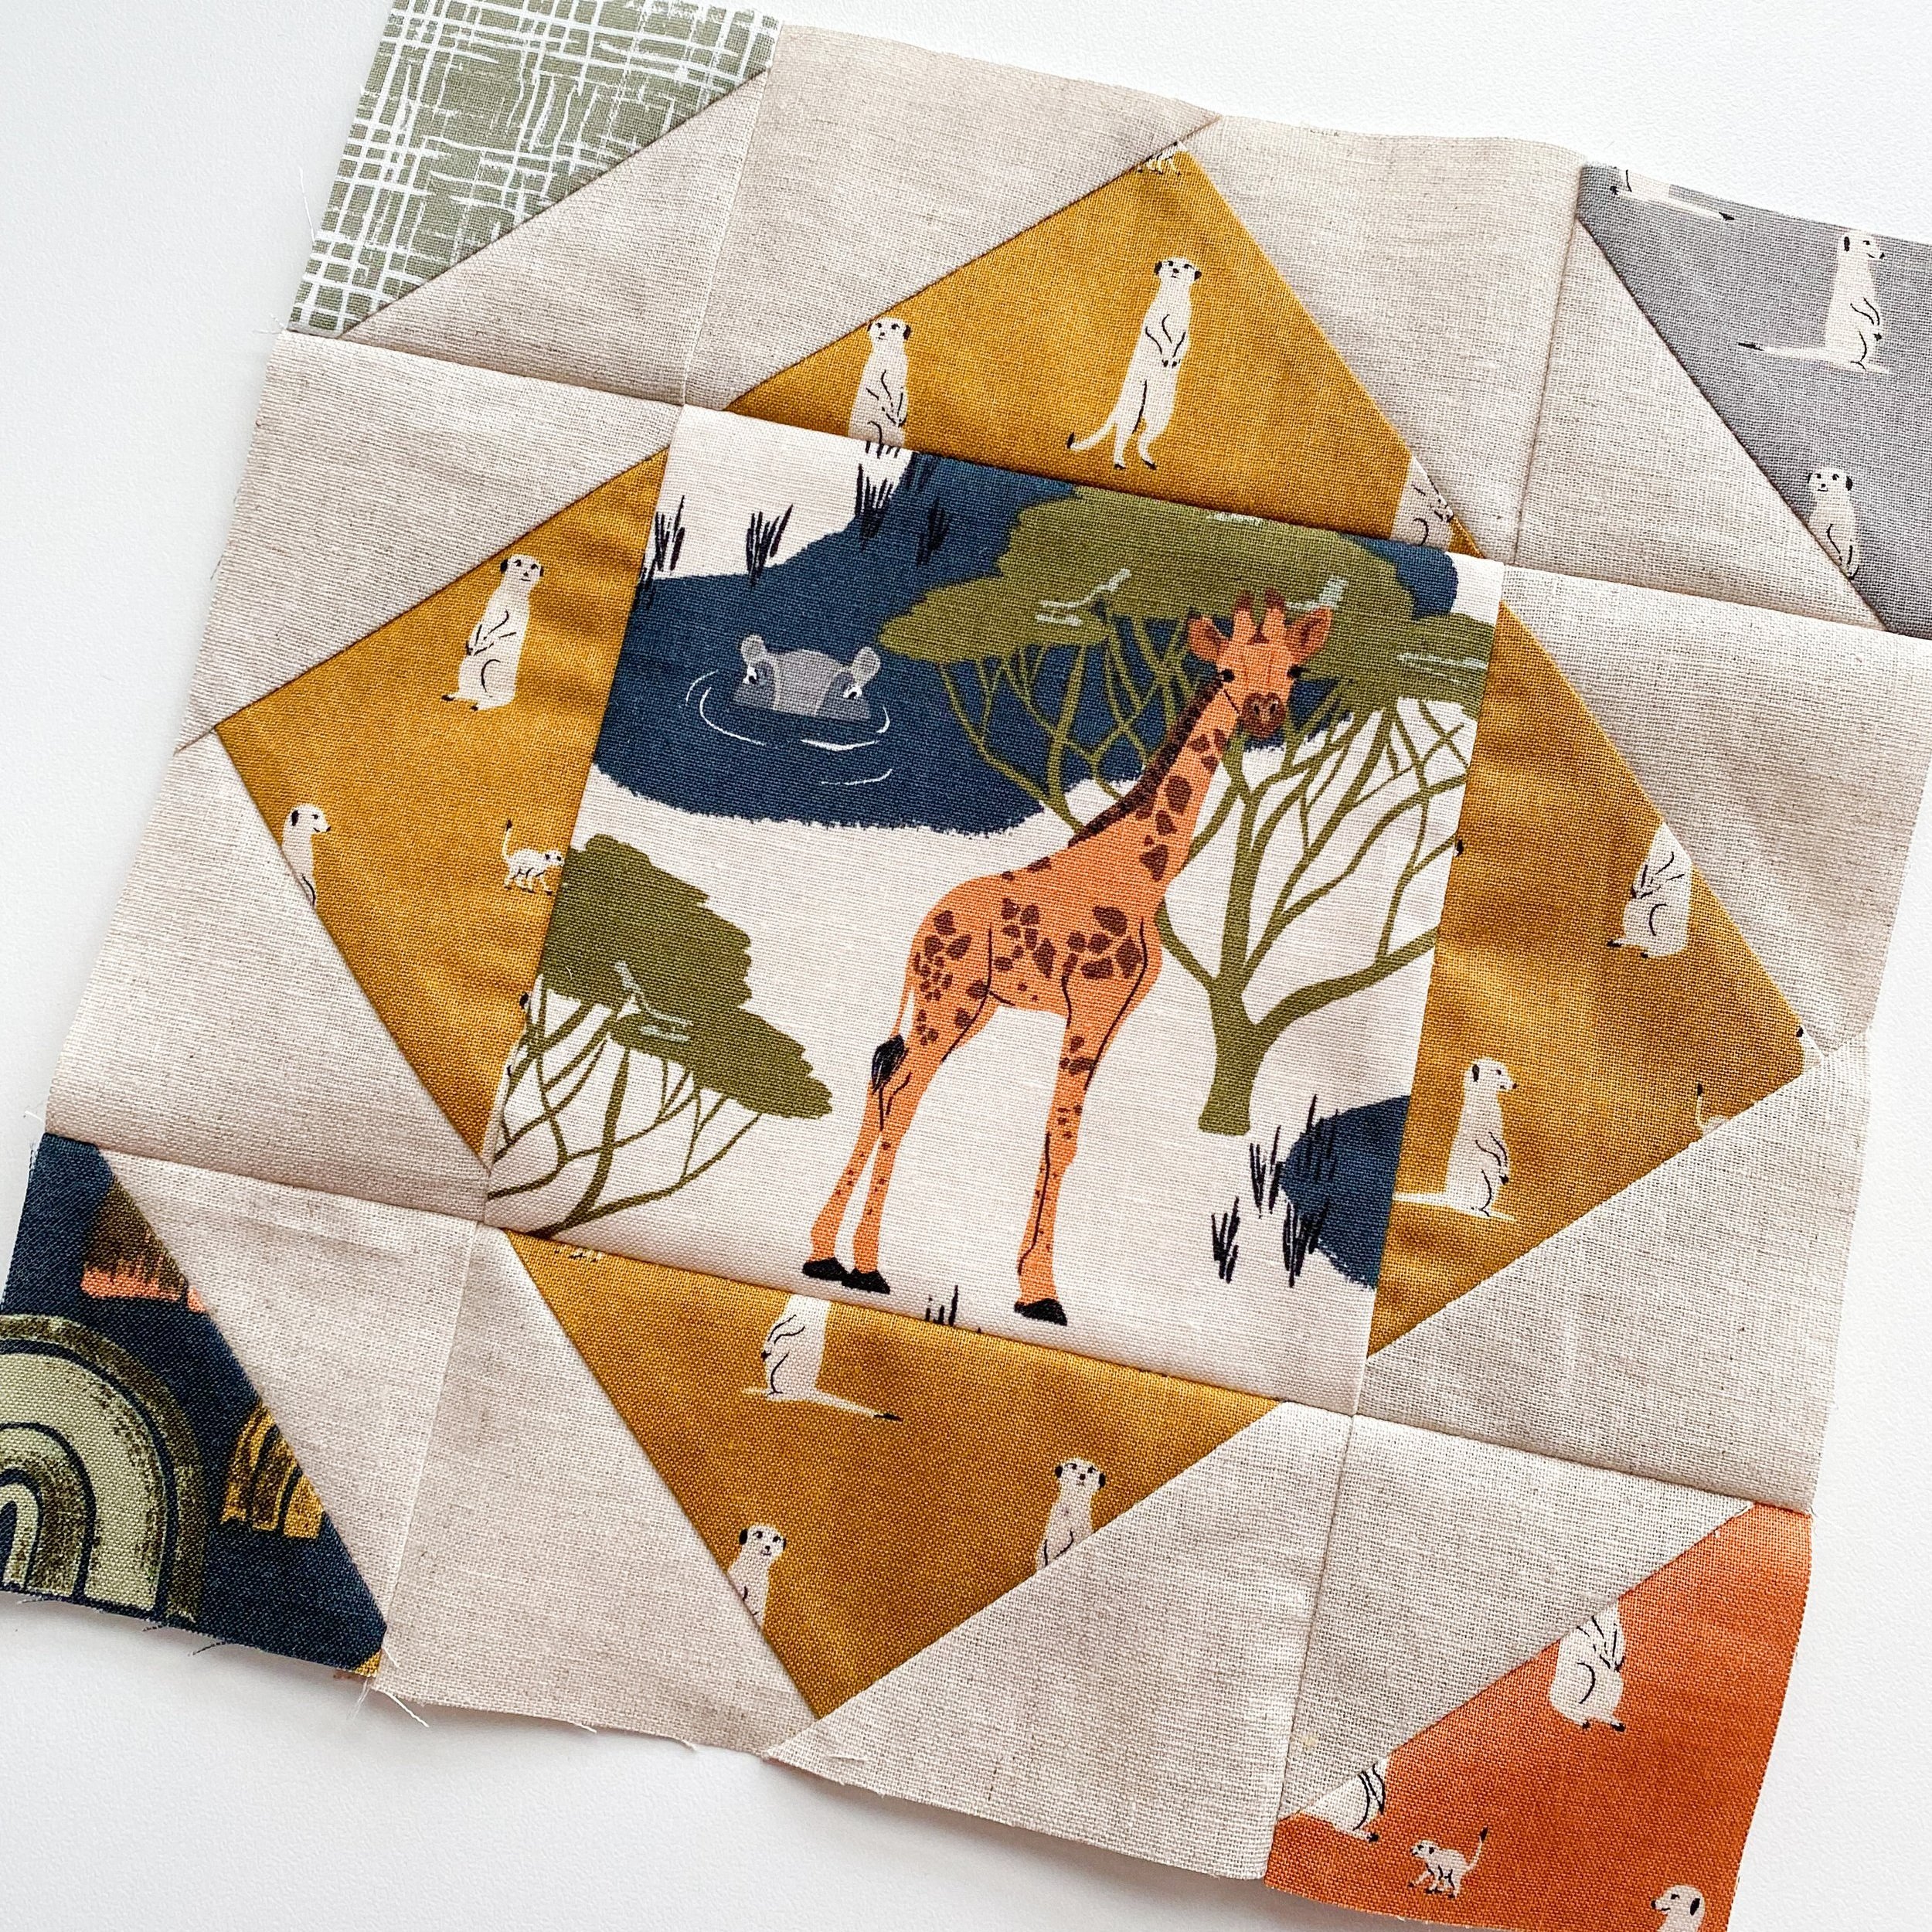
Back to quilting! I spent about three months straight trying to come up with a design for this quilt. I sketched pattern after pattern, never feeling satisfied with the result. I knew I wanted something with a square center to show off the darling prints, and finally decided on a block-based pattern with square centers, flying geese, and floating HSTs.
Once I felt confident in the design, the math was the next hurdle. I’ve learned in recent years to write equations that help me figure out the dimensions of repeating smaller blocks within a pattern. I don’t mess with quarter inches in quilting, I just keep to half inch increments and hope that it all works out in the end. To my relief, it worked out just fine! I think I’ll write up a pattern for this design in the coming months, so make sure to sign up for my newsletter to stay informed (bonus–you get a free quilt pattern when you sign up)!
Do you ever have fabric that you just want to keep on your shelf forever because it’s just so pretty?! That’s what this collection was for me–I just didn’t want to cut it. I get a tiny bit nervous each time I make initial cuts in a project. Turns out I should’ve been more nervous because I cut all the wrong sized squares into the first fabric (even after all that careful quilt math, can you believe it?)! The poor fallen soldier was the cute Rainbows in Natural. You might notice in the final quilt that the light rainbows don’t make an appearance too often. Oh well, mistakes happen and thankfully I was able to save some larger pieces for some center squares.
The first sewing step was making 80 flying geese and 80 HST, each in pairs of four.

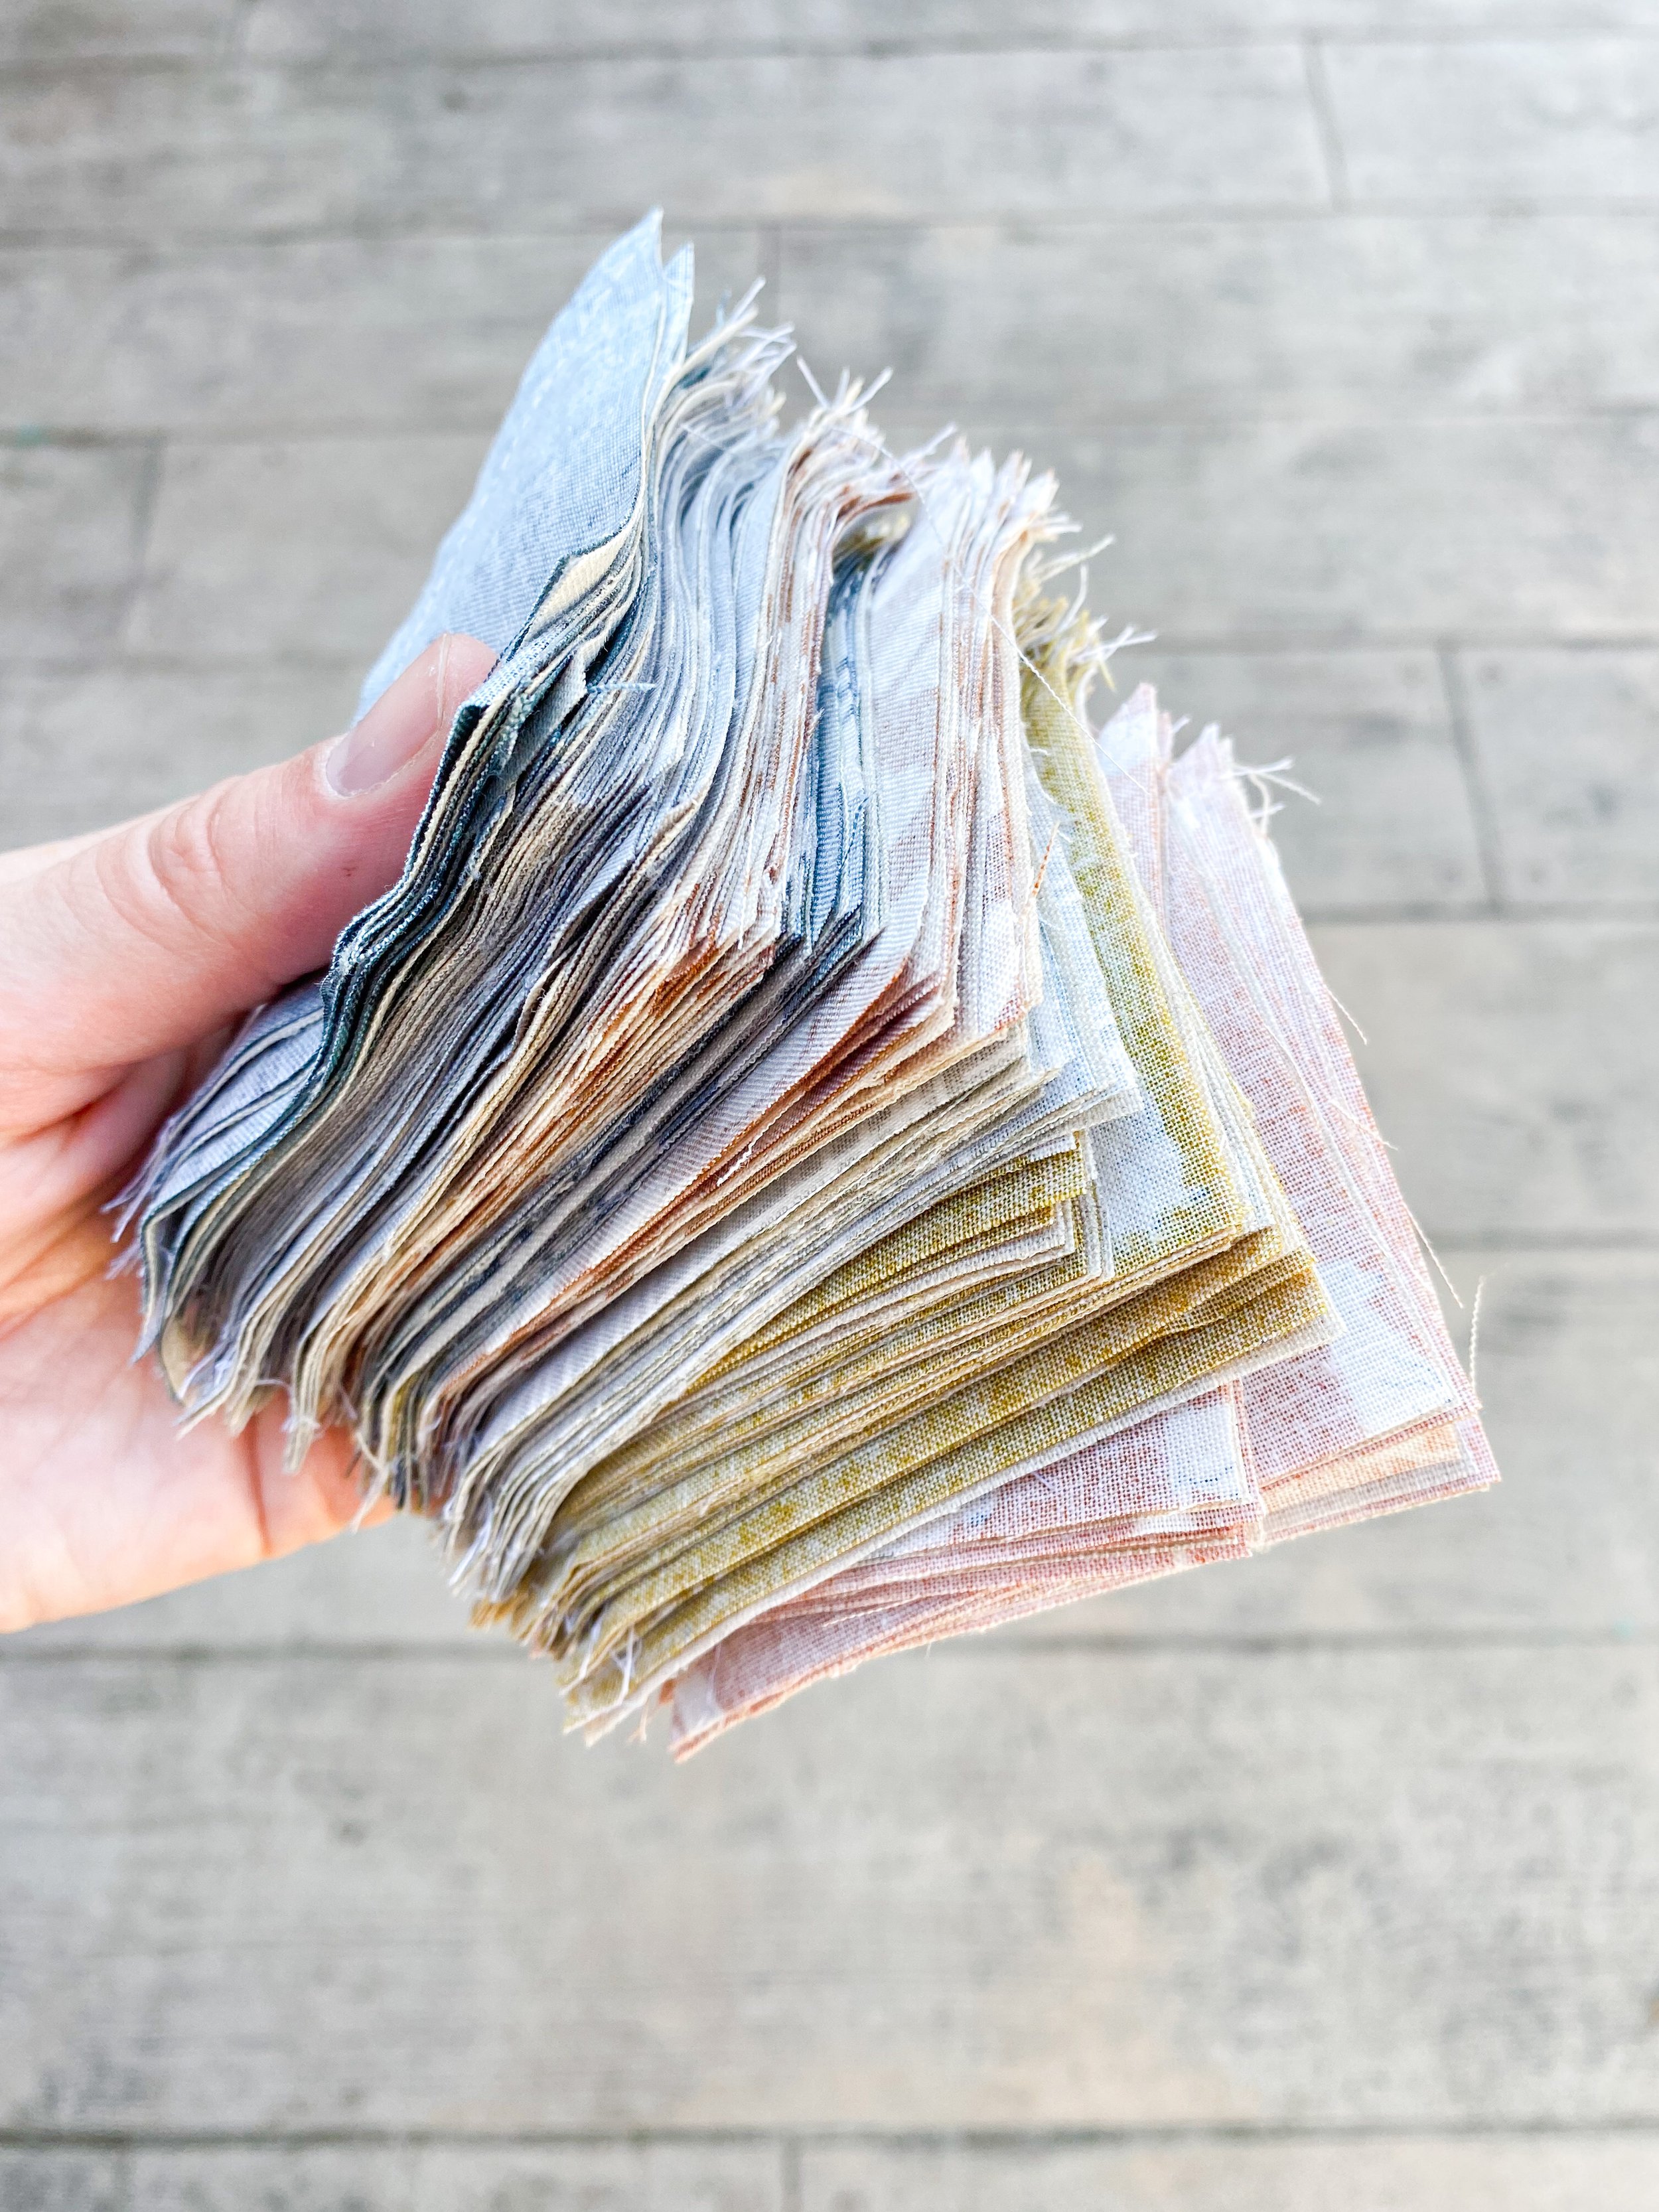
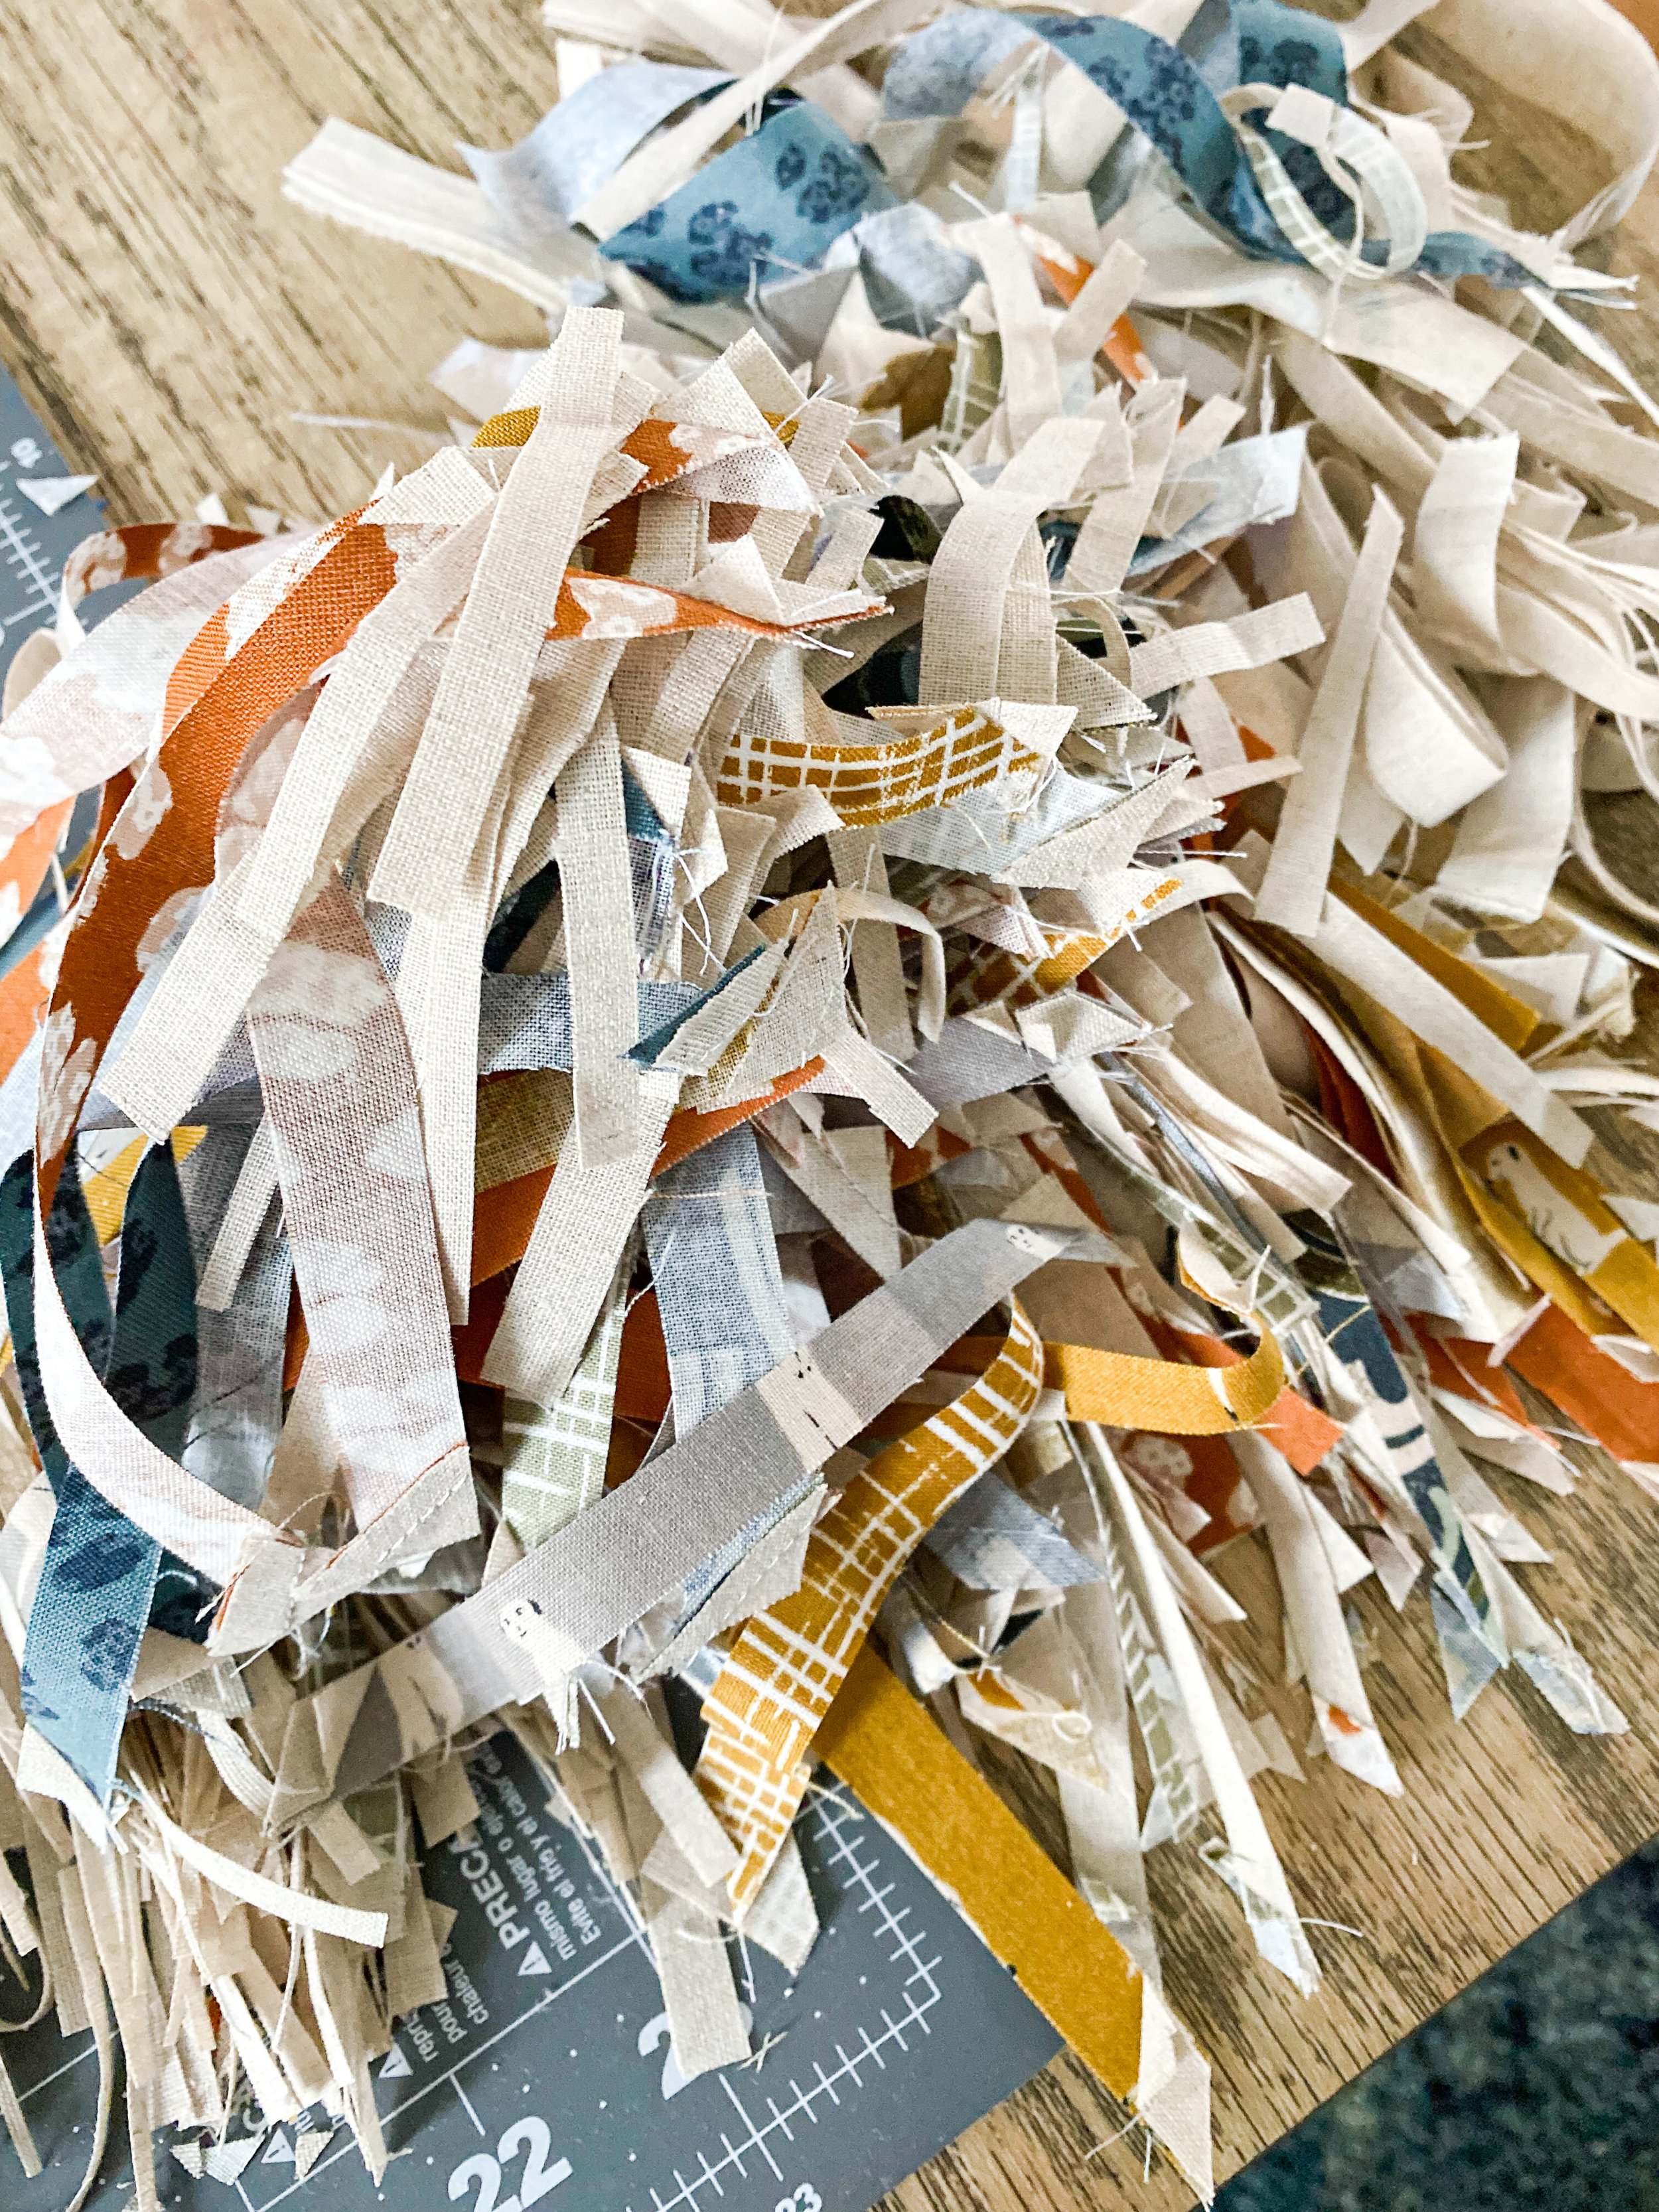
I am guilty of letting my fabric trimmings sit on my workspace for much longer than is needed (and is maybe healthy lol). I just think it’s so satisfying to see all the work done and also I love seeing the colors mesh together all in one giant, messy pile.
The HSTs turned out so cute and small–definitely the tiniest HST I’ve made to date (2.5″). On the other hand, the flying geese were a little funky. I’m stumped because I’m not quite sure where I went wrong. I find a shred of comfort in the fact that they’re all off. At least I’m consistent haha!
I used masking tape to mark this quilting ruler (see below) to help trim them faster down to size. They were supposed to come out 2.5×5″, but as you can see below they were much larger. I did lots of calcs and checked many blogs but somehow something was still off. I foresee more practice for me in the future!

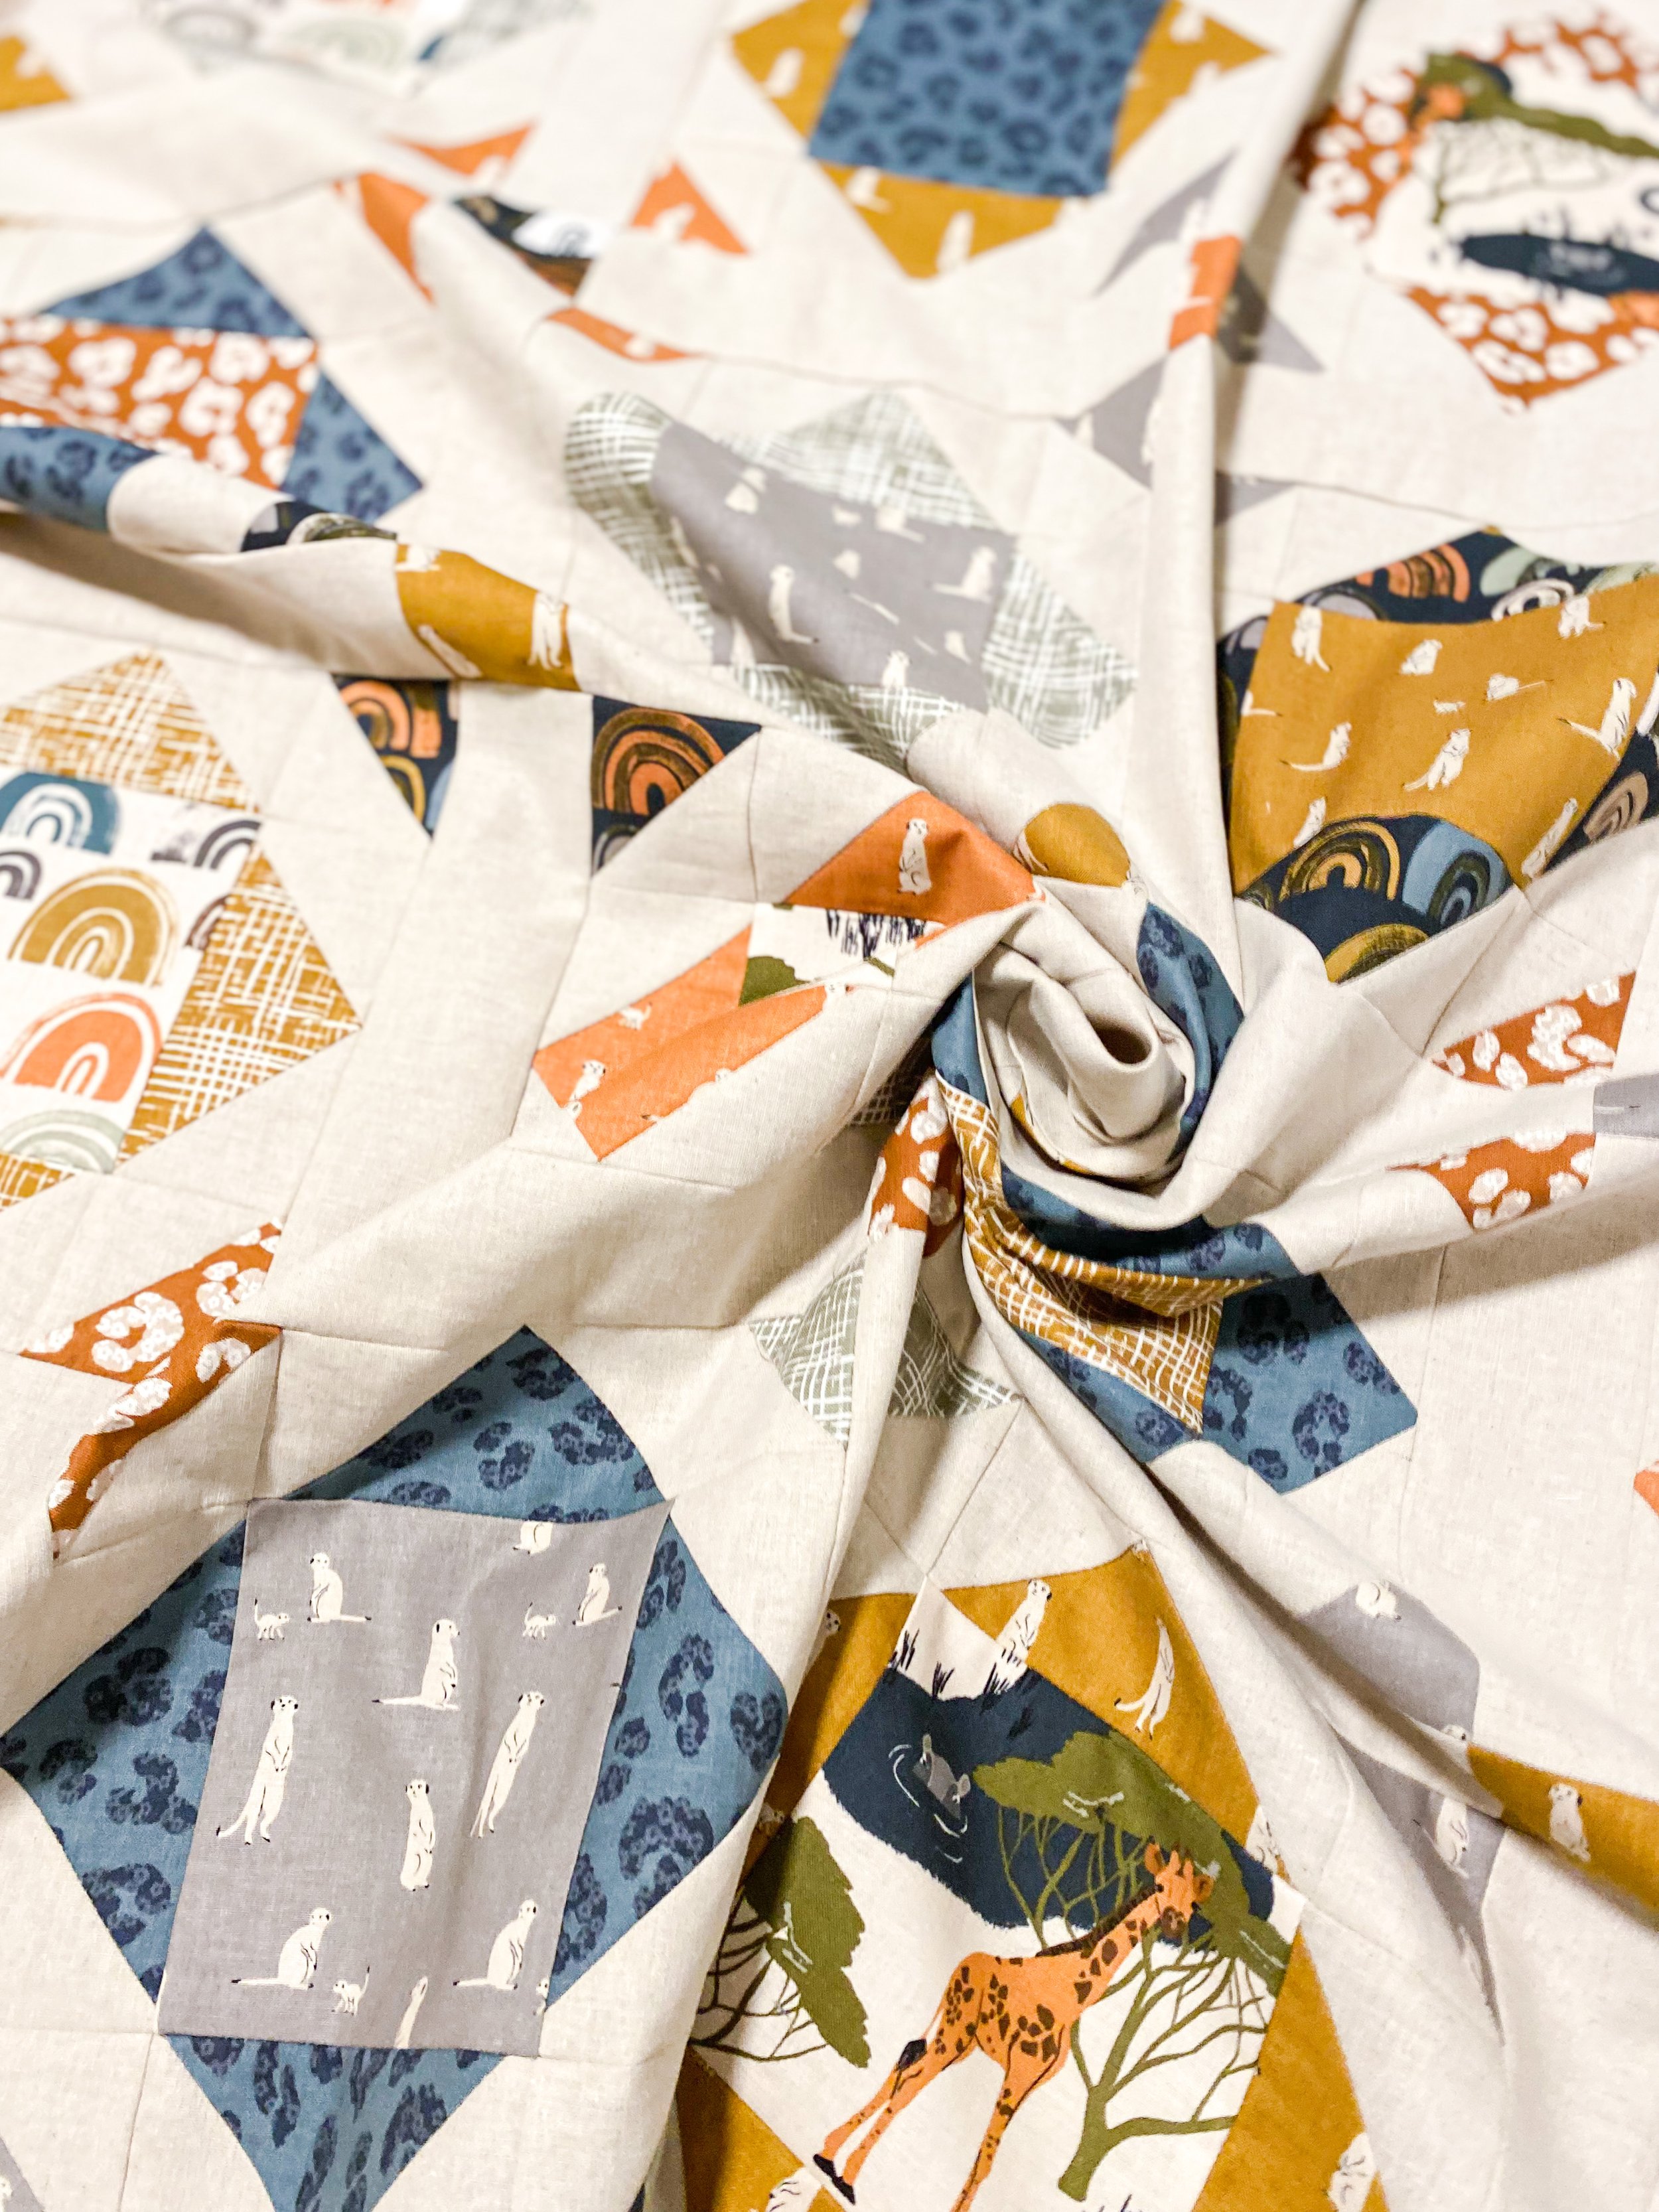
I think one of the funnest (and yet somehow super stressful) parts of quilting is deciding the layout. I generally like to take my time, leave it on the floor for a few days, and make small adjustments bit by bit. I find that taking long breaks helps me to notice that one dark or light square that is out of place. I’ve also used the trick where you take a photo, turn it black and white and then adjust your placement based on the light and dark hues shown in the adjusted photo. It’s a great trick!
Although there were a lot of small pieces, the top came together relatively fast! Once these squares were finished all that remained was sashing, quilting, and binding.

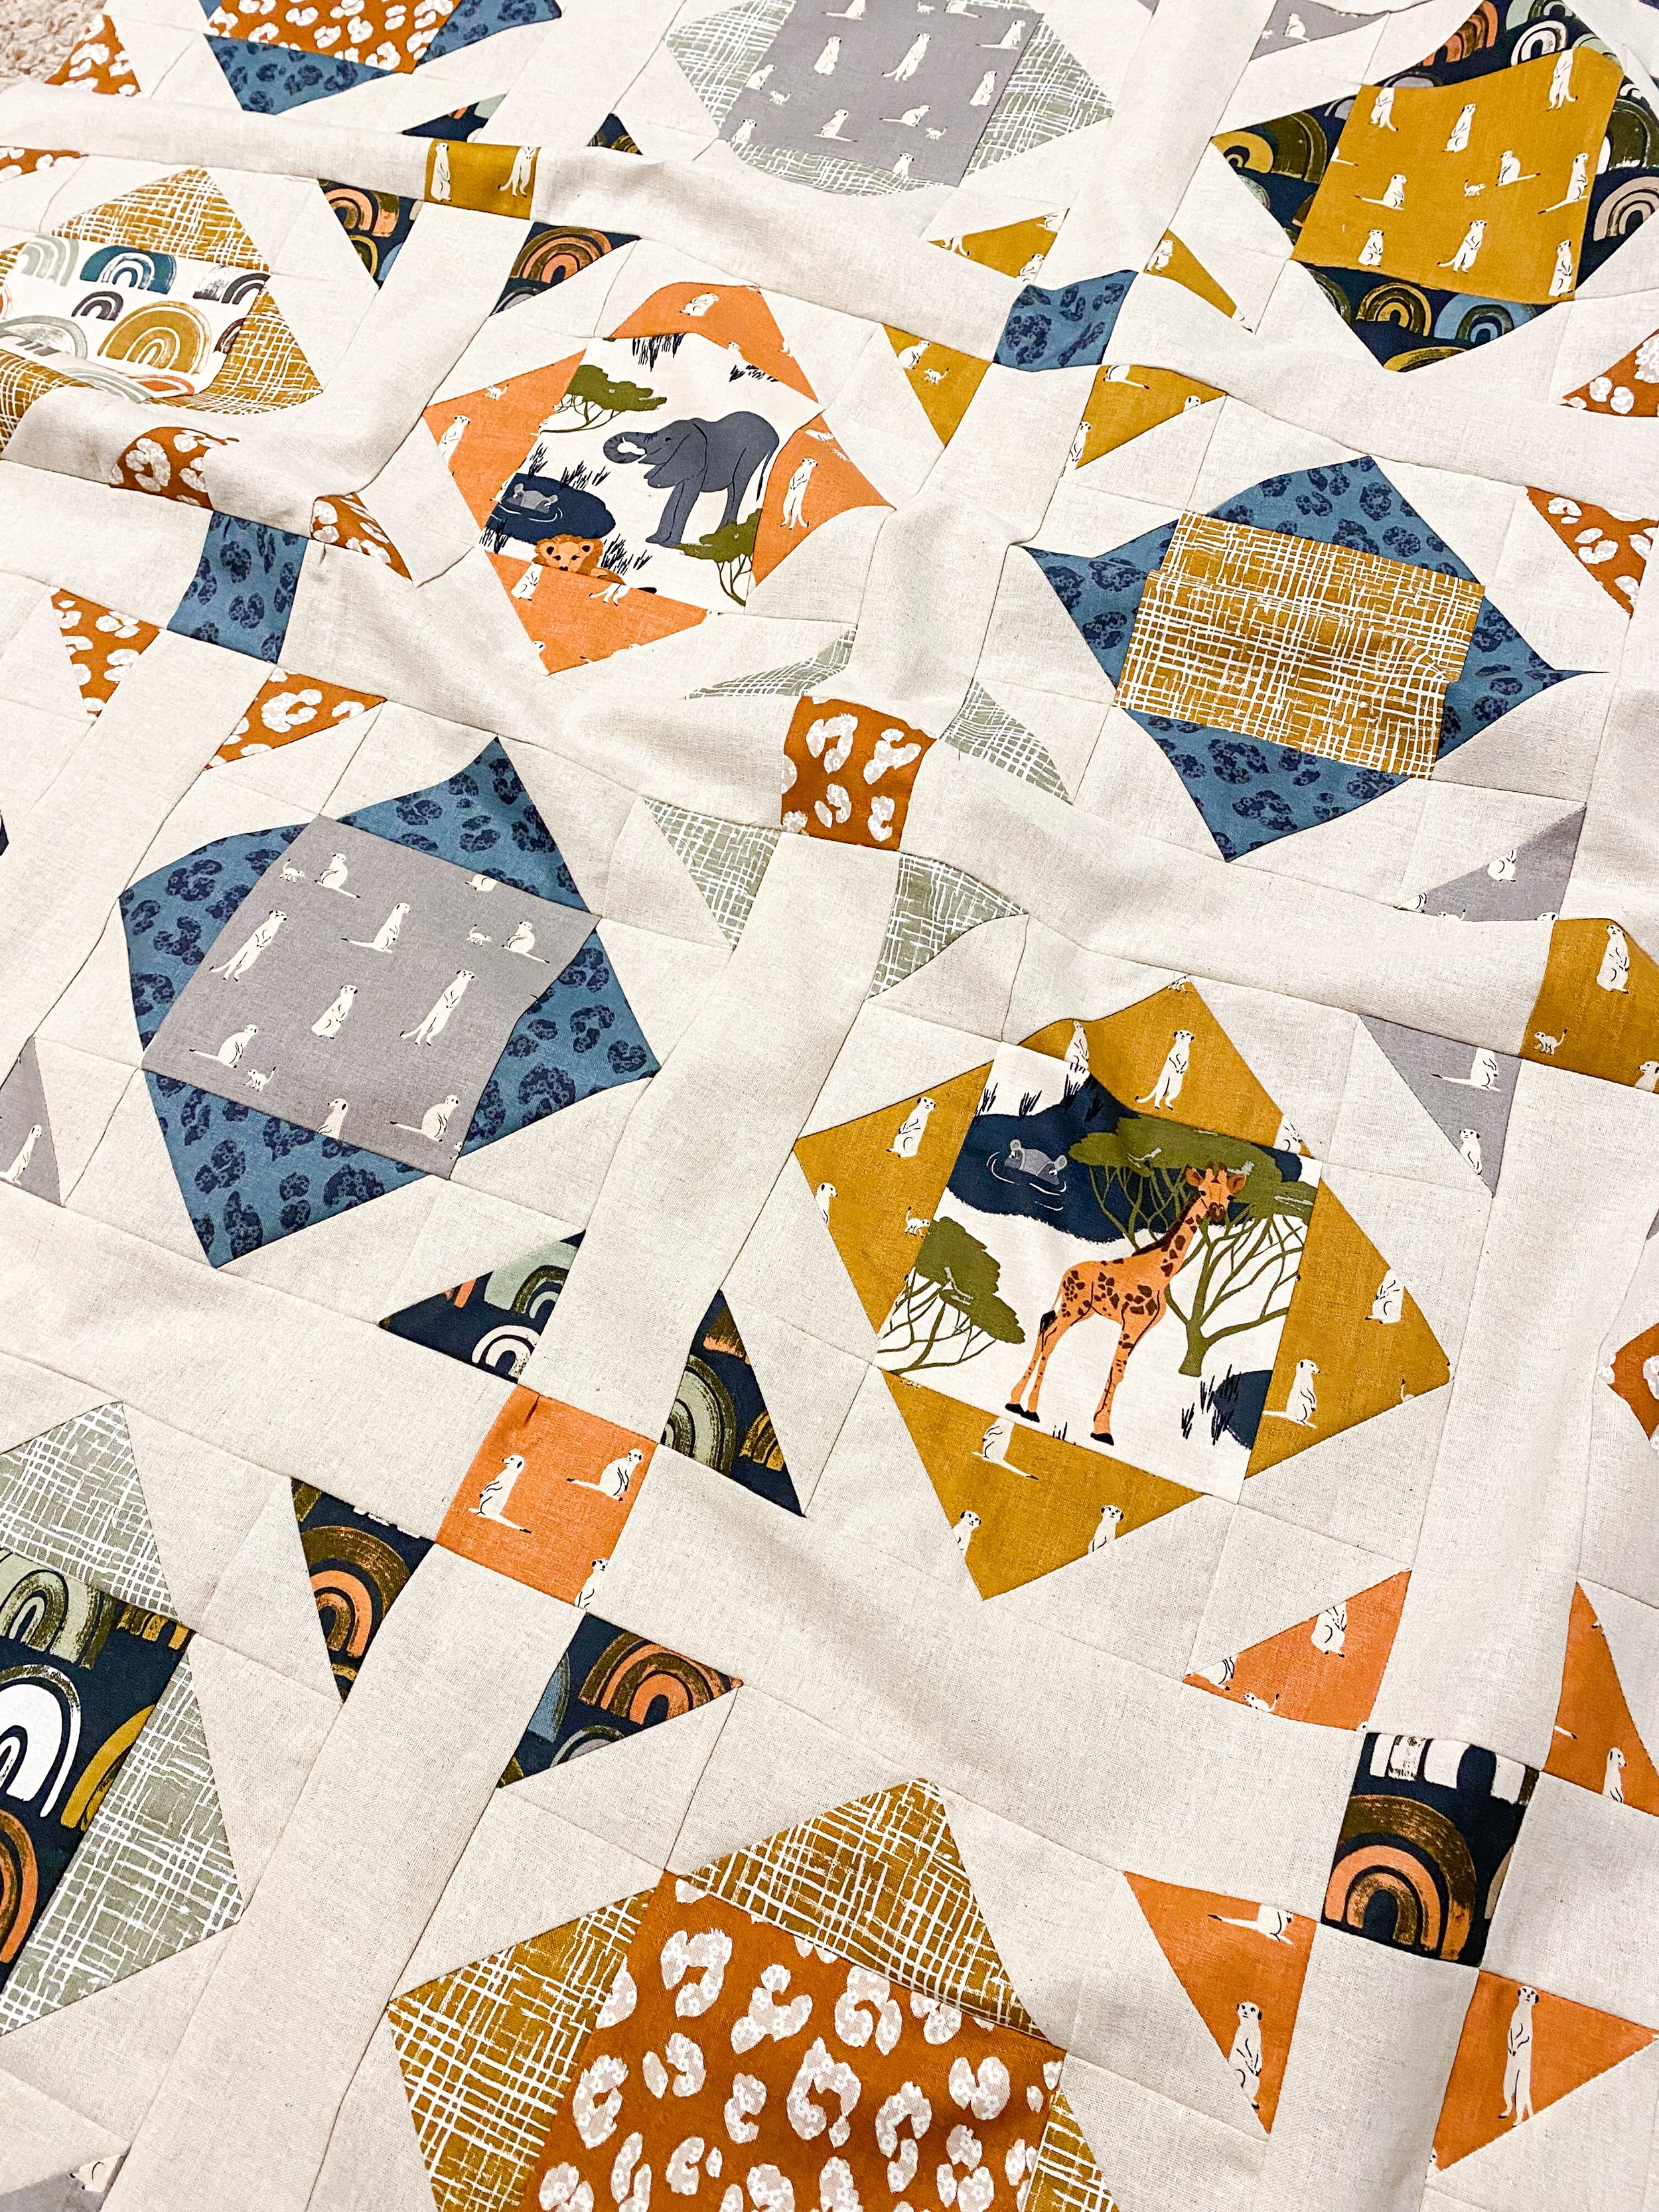
You can see in the photo below how my wonky flying geese look up close. I honestly like the raw look of those exposed corners of the center square, and might highlight it even more with the quilting. I’m going to baste this quilt with a 80/20 cotton/polyester blend batting and then hand quilt it with a gorgeous charcoal thread (details at the end of this post). I’ve got about three months until baby arrives so I figure a little bit of hand quilting will help the time pass quickly!
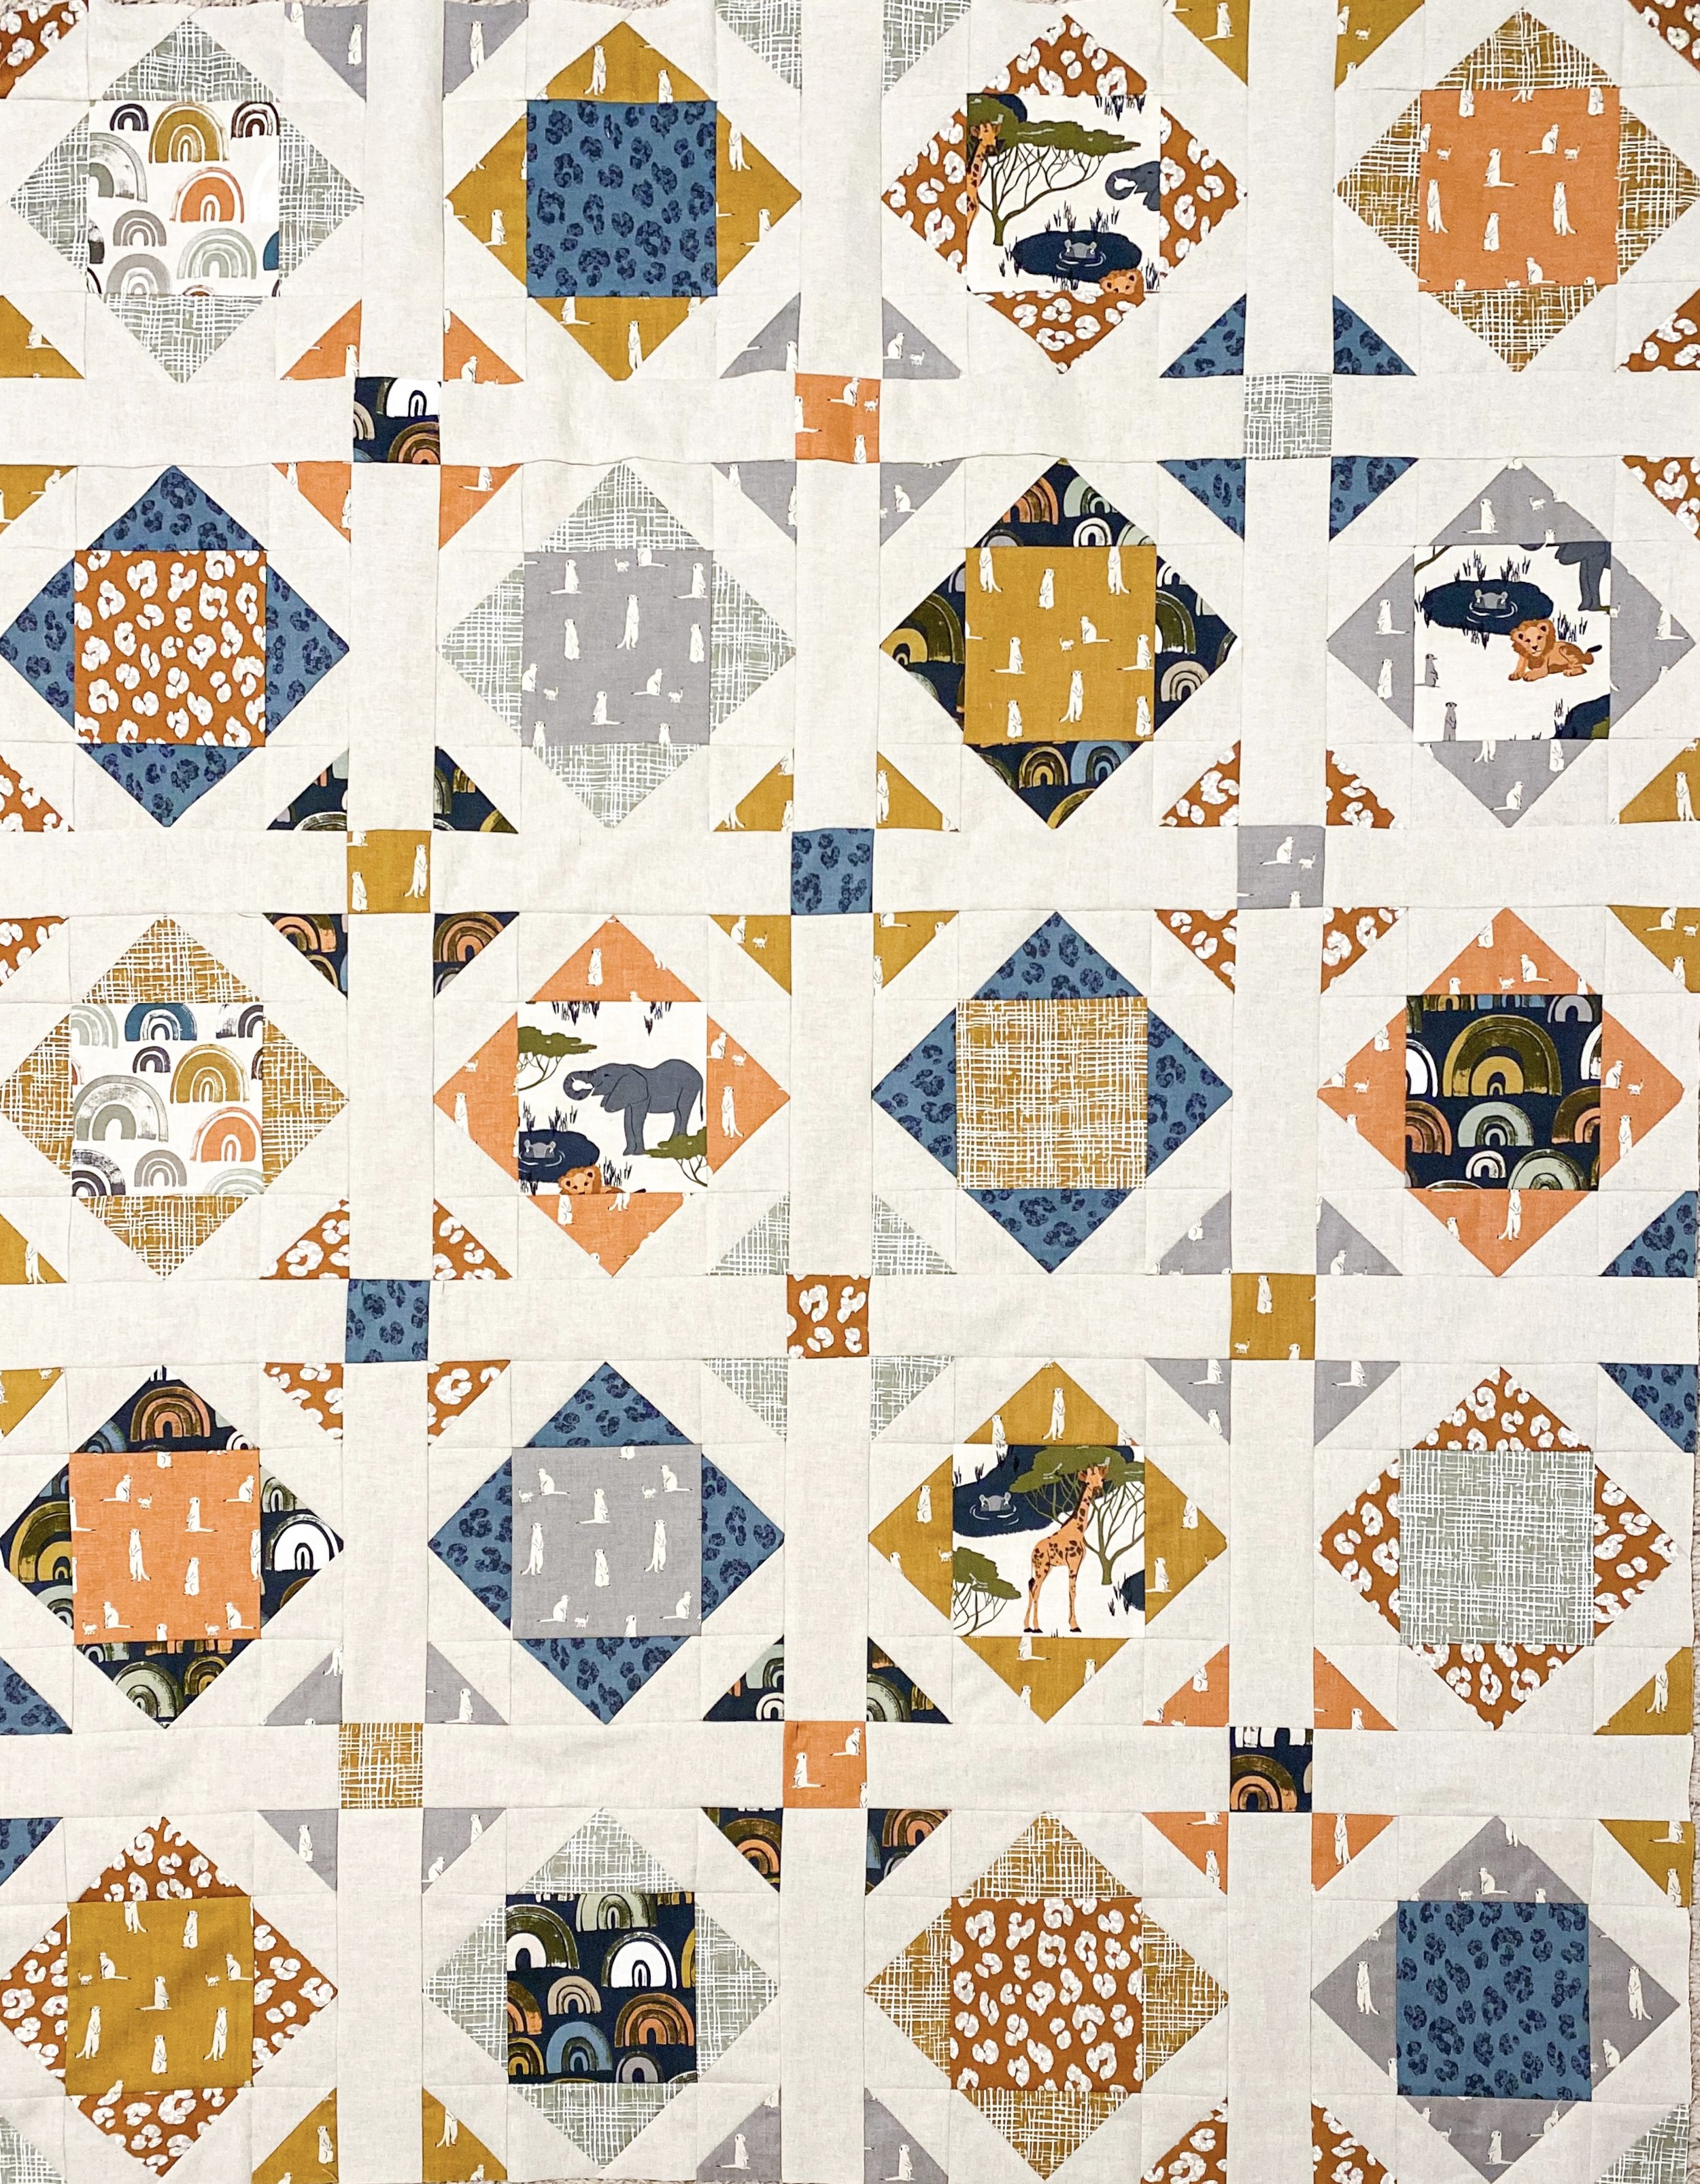
Here’s the finished quilt top! Thanks for following along! Check your favorite fabric shops for this awesome new collection.
Fabrics Used:
The Waterhole Main Olive – C11840-OLIVE
The Waterhole Main Natural – C11840-NATURAL
The Waterhole Rainbows Natural – C11842-NATURAL
The Waterhole Rainbows Midnight – C11842-MIDNIGHT
The Waterhole Animal Blue – C11844-BLUE
The Waterhole Animal Rust – C11844-RUST
The Waterhole Meerkat Gray – C11843-GRAY
The Waterhole Meerkat Gold – C11843-GOLD
The Waterhole Meerkat Rust – C11843-RUST
The Waterhole Hatching Olive – C11845-OLIVE
The Waterhole Hatching Gold – C11845-GOLD
RBD Basic Linen Natural – LN300-NATURAL
Thread:
Size 8 DMC Pearl Cotton Thread – Dark Pewter Gray (3799)